

Do you dread spending $80 at the salon just to walk out with thick, crooked holiday art? You do not need the steady hand of a surgeon or a drawer full of expensive dotting pens to make festive nails. A simple toothpick and a bottle of drugstore polish can transform your holiday look in fifteen minutes. Try these 18 cute simple Christmas nails even beginners can do at home without losing your patience!
1. Minimalist Cherry Red French Tips
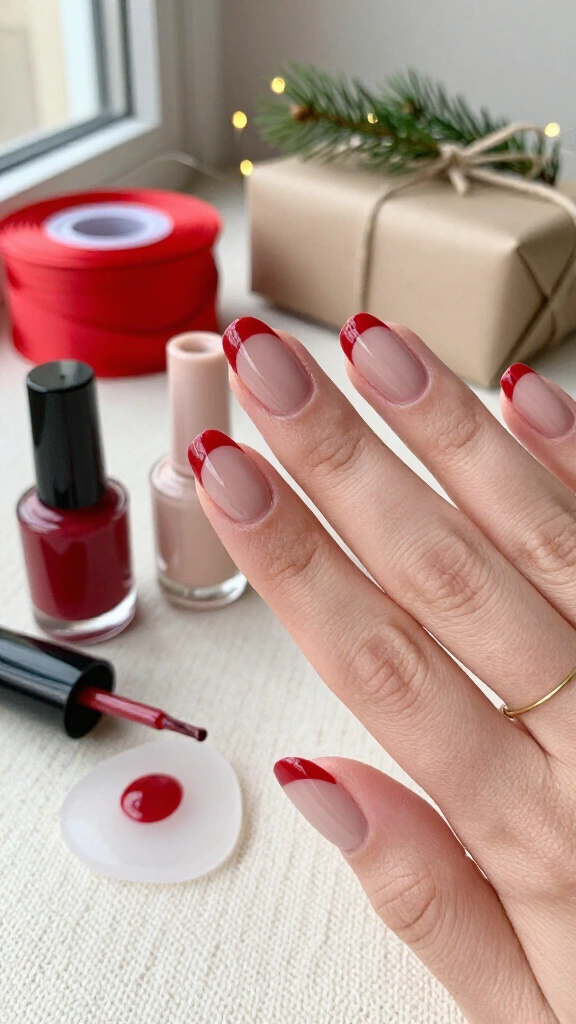
Ditch the traditional white tip for a deep crimson edge. This modern spin looks clean and festive on short natural nails. Paint your base with a sheer nude wash, then swipe a rich red polish across the free edge.
If you struggle with shaky hands, press your nail edge directly onto a silicone stamper coated in red polish. The stamper creates a crisp smile line every single time. Seal the edges with a clear top coat so your tips do not chip while you wrap presents.
2. Subtle Dot Snowflakes
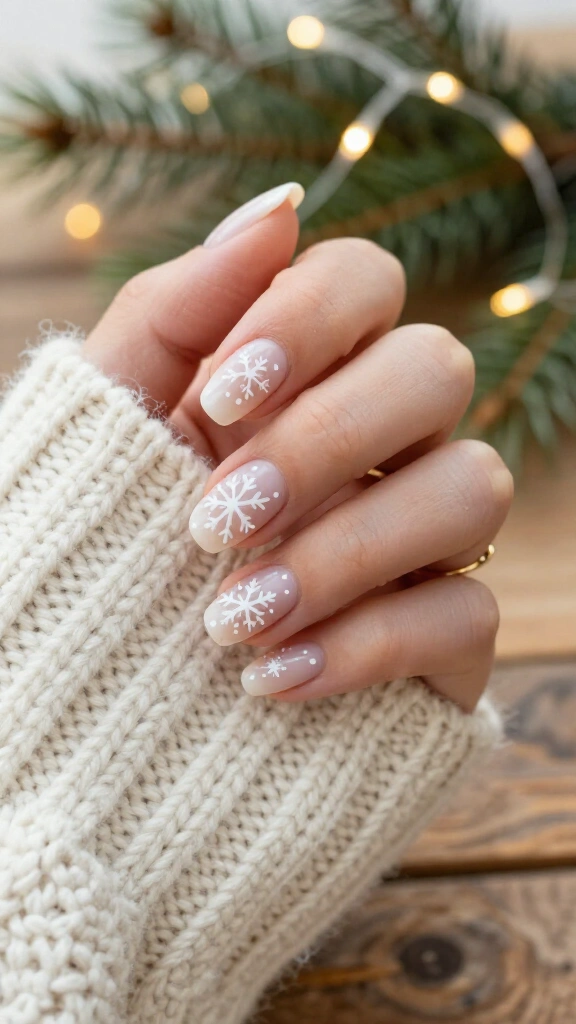
Hand-painted snowflakes look tricky, but simple dot patterns take away the stress. Grab a bobby pin, dip the rounded tip into white polish, and stamp five small dots in a circle over a nude base.
Pull the dots outward with a dry toothpick to mimic ice crystals. You get a delicate wintry design without drawing a single straight line. This technique remains one of the simplest holiday nail tricks you can try.
3. Single Glitter Accent Finger

You do not need detailed art on every finger to make an impression. Paint four fingers in dark evergreen and cover your ring finger in dense gold glitter. This combination takes very little time but looks festive right away.
To pack on the glitter, dab your glitter polish onto a small makeup sponge before pressing it onto your nail. The sponge absorbs the clear base polish and deposits a thick layer of sparkle that catches the light.
4. Glossy Evergreen Monochrome
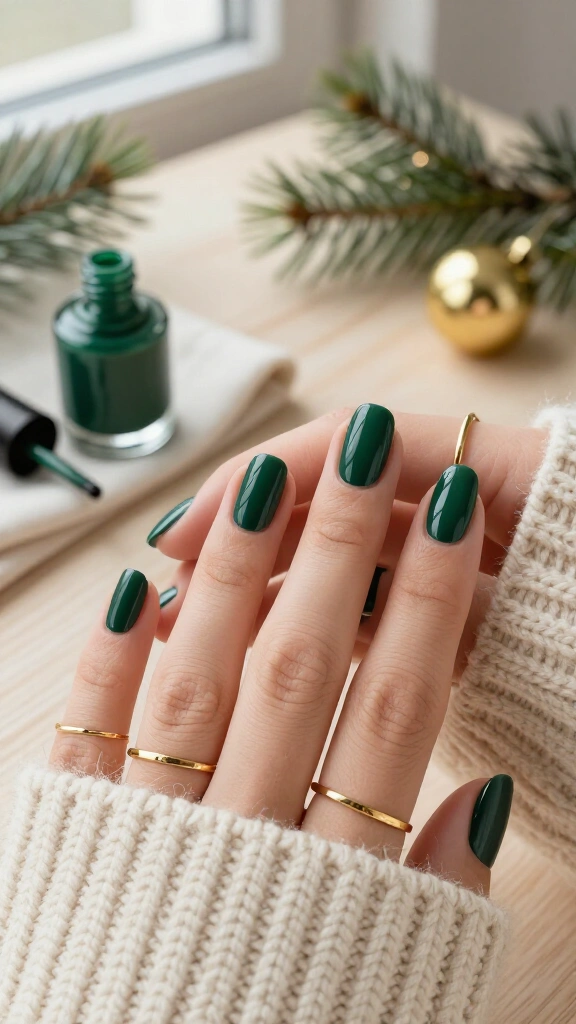
Sometimes a single bold color makes the strongest statement. A hunter green or deep pine polish brings winter spirit to your hands without any snowflakes or candy canes. It fits right in at the office and transitions easily to weekend holiday parties.
Apply two thin coats to prevent bubbles. Pair the dark green lacquer with simple gold rings to give your hands a polished, put-together finish.
5. The Two-Stroke Candy Cane Accent
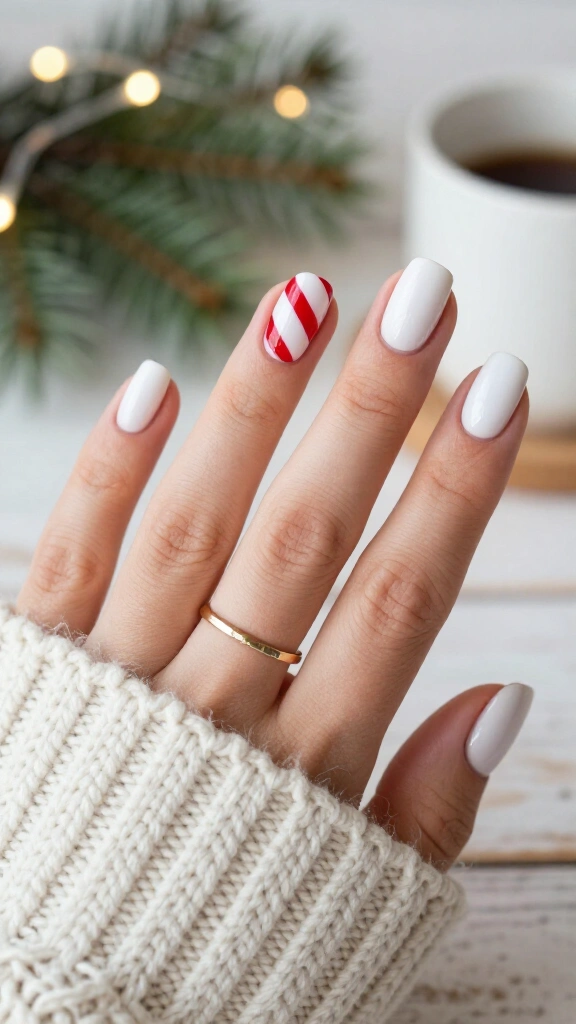
If you like classic holiday motifs, look at festive Christmas nails candy cane designs to bring sweet winter energy to your fingertips. Paint your accent nail solid white, then grab a thin liner brush.
Paint two diagonal red stripes across the nail with quick, steady strokes. Do not worry about razor-sharp perfection, because real peppermint sticks look slightly irregular too. Apply a glossy top coat to give the stripes a hard-candy shine.
6. Milky White Nails with Gold Leaf Flakes
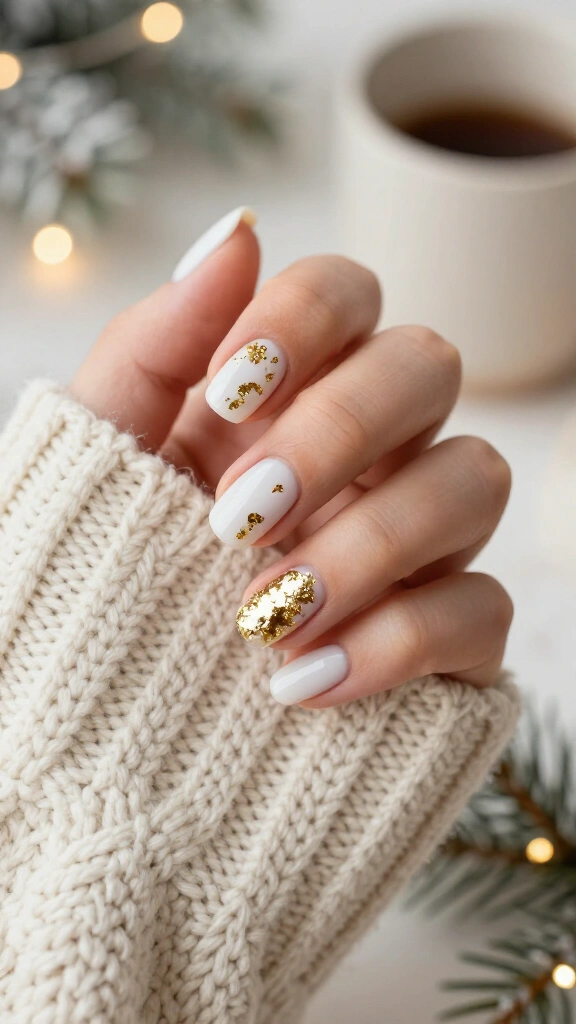
For a softer, neutral style, milky white Christmas nails provide a clean look in minutes. Apply two coats of semi-sheer white lacquer to build a cloudy base that works well across different skin tones.
While the second coat feels slightly tacky, press tiny bits of gold craft foil onto the nail with tweezers. The jagged metallic pieces mimic tree tinsel and hide minor flaws in your base polish.
7. Toothpick Mistletoe Berries
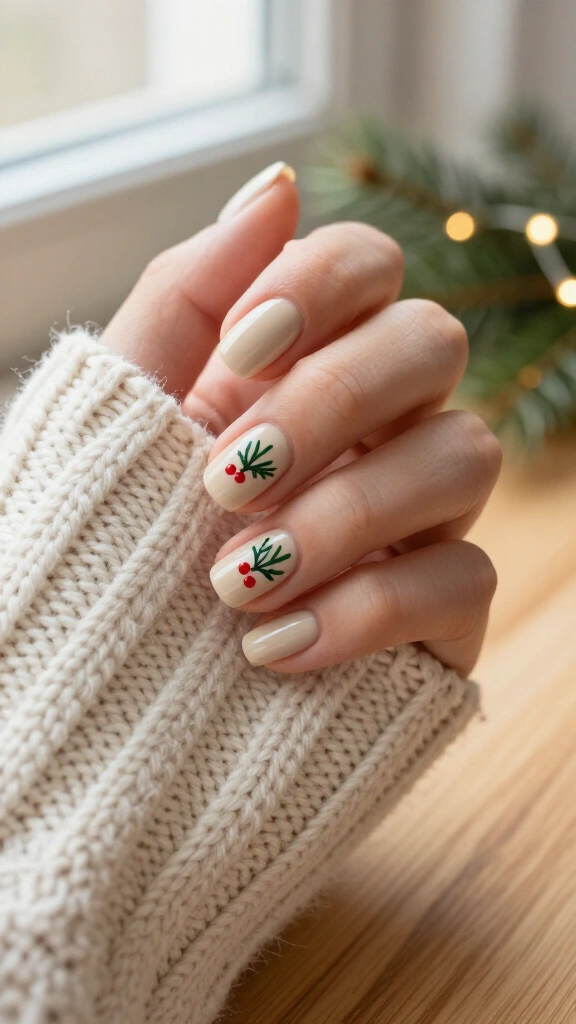
Bring the look of mistletoe to your manicure using a plain kitchen toothpick. Paint your nails with a soft beige cream. Place two tiny green leaf strokes right near your cuticle line.
Finish the look by stamping three bright red dots right between the leaves with the blunt end of your pick. This tiny detail takes thirty seconds per nail and uses items you already own.
8. Star Decals on Bare Nails
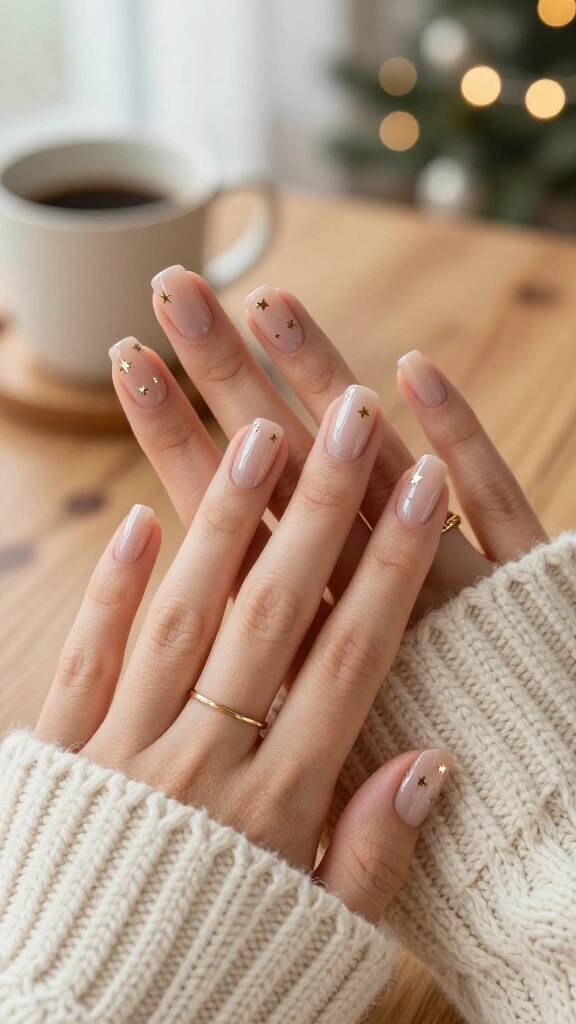
When you want clean nail art without drawing anything by hand, peel-and-stick decals do the job. Start with clean, buffed natural nails and apply a strengthening base coat like the formulas that editors at Byrdie recommend.
Place tiny gold foil stars across random nails with tweezers. Press down the edges, then apply two thick layers of clear top coat to seal the stickers flush against your nails.
9. Shimmering Champagne Chrome Wash
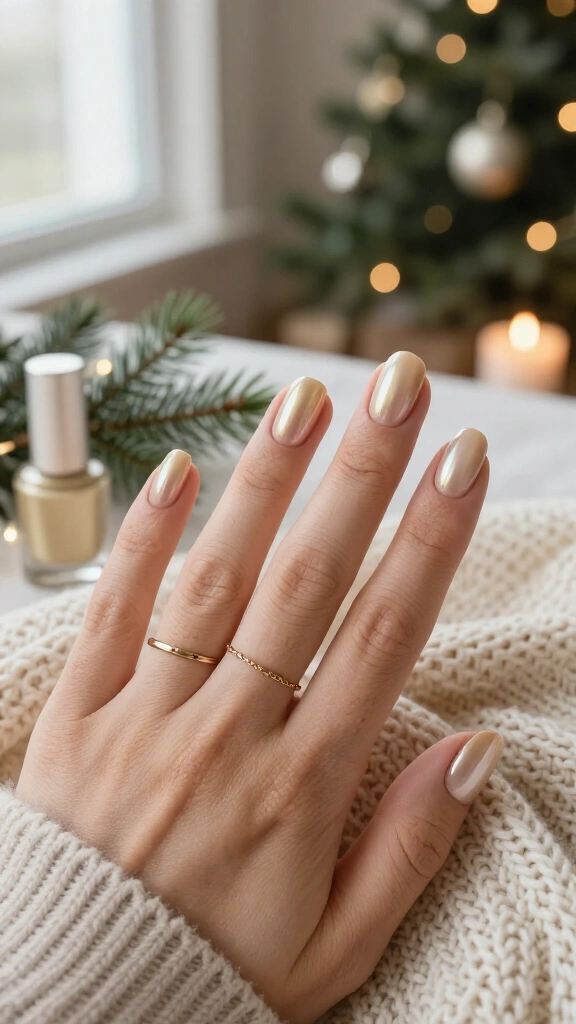
Give neutral nails a holiday refresh with a warm champagne shimmer. Pick a pearlescent lacquer with pale gold tones and apply two smooth coats over bare nails. The finish reflects light softly without looking loud.
This light color hides minor chips and natural nail growth well, which helps when you travel. You can wear the shade from early December straight through New Year gatherings without changing your polish.
10. Striping Tape Tartan Plaid
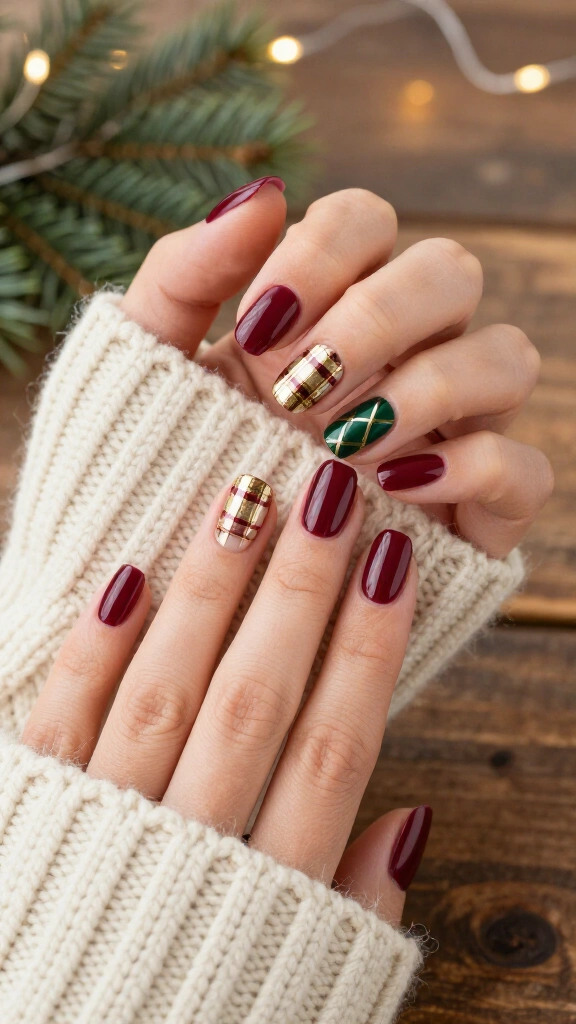
Plaid matches the cozy feel of winter flannel, but painting straight lines freehand can turn messy fast. Thin nail striping tape fixes that issue. Paint a rich burgundy base coat and let it dry completely until the surface feels firm to the touch.
Press thin pieces of gold striping tape across each other to make a grid. Trim the tape ends close to your nail edges with cuticle nippers, then brush clear top coat over the design so the edges do not snag on wool sweaters.
11. Velvet Red with Gold Half Moons
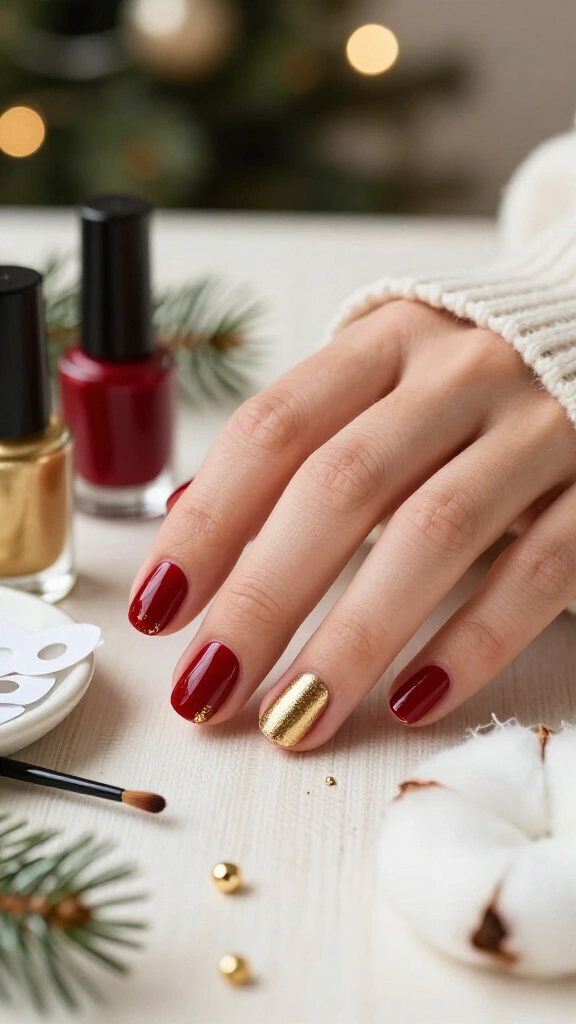
Update your usual red manicure by testing white and gold Christmas nails concepts with negative space. Paint a metallic gold semicircle along your cuticle line, using round paper binder hole stickers as stencils.
Fill the rest of your nail with a deep oxblood red. This rounded shape makes short nail beds look longer and hides new nail growth as the weeks go by.
12. Metallic French Borders
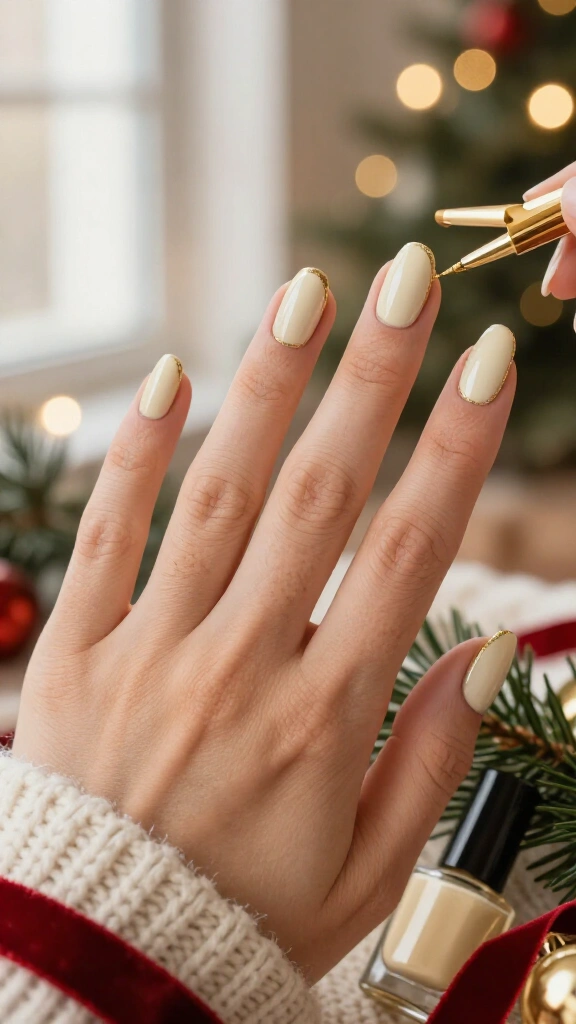
If you want something different from normal tip art, frame your nail with a thin metallic border. Paint your nails in a neutral cream tone, then outline the outer edges with a gold liner brush.
This border technique emphasizes your natural nail shape and looks intentional. The design looks intricate, but you only need a steady hand and a fine detail brush to trace the edges.
13. Rudolph Red-Nose Dots
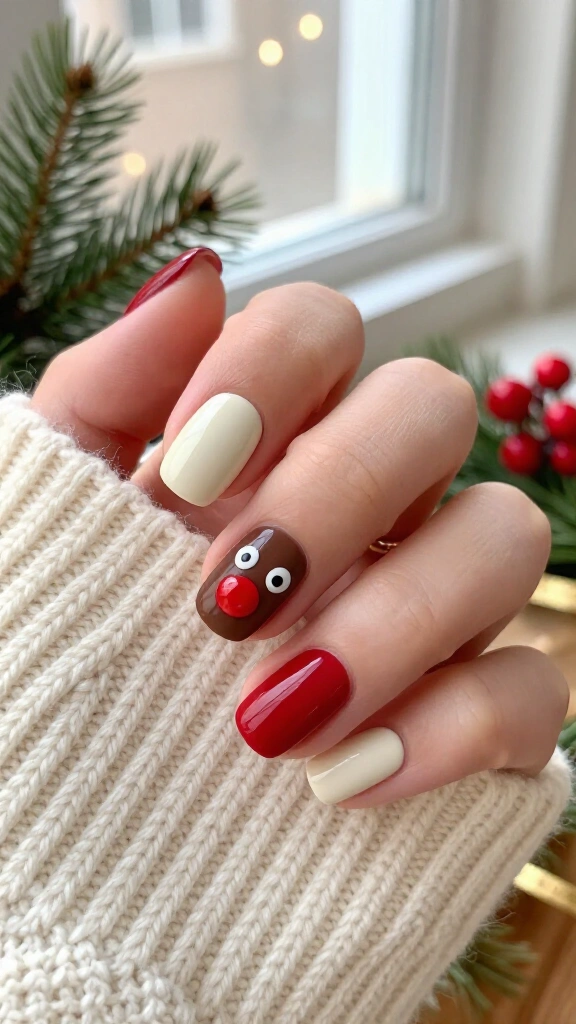
Try a playful holiday accent finger with simple dots. Apply a pale cream base, then place one medium brown dot near the center of the nail. Add two tiny white dots with black centers right above it for the eyes.
Finish the reindeer by placing a bright red dot directly on the brown circle for the nose. Friends and family will love this cheerful accent all through December.
14. Emerald Green with Gold Shimmer Tips

Give your winter greens a warm finish without complex tools. Cover your nails in a glossy emerald green shade. While the polish stays sticky, dust fine gold shimmer powder onto the tips with a soft eyeshadow brush.
The powder blends softly into the green without sharp color breaks. Check out basic gradient guides on Allure to practice simple sponge techniques that give your home manicure a clean finish.
15. Frosted Berry Red with Sugar Texture

Turn standard red polish into frosted holiday fruit with a textured powder technique. Paint your nails with two coats of bright berry red. Before your final layer dries, sprinkle clear powder or fine cosmetic shimmer over the wet nail.
Gently tap off the extra powder and let the coat dry. You get a gritty, frosted surface that looks like sugar crystals on cold winter berries.
16. Cozy Cable-Knit Accents
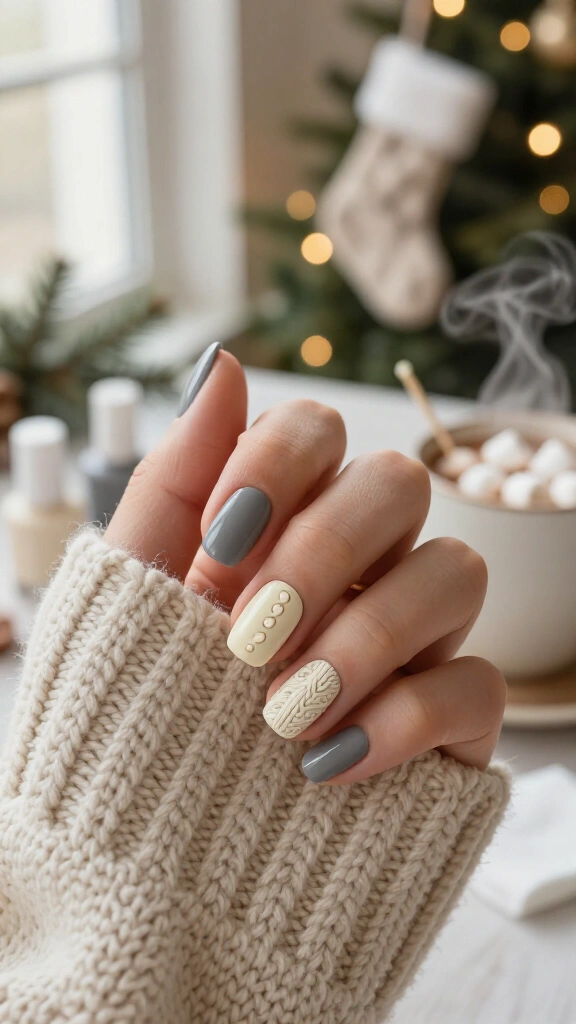
You can capture the texture of a warm sweater without an expensive salon setup. Apply an opaque matte gray or cream polish over your accent nail.
Dip a toothpick into the same polish and draw small loops, dots, and lines down the center of the nail plate. Finish with a matte top coat to keep the raised knit texture visible instead of glossy.
17. Holiday Present Ribbon Accents
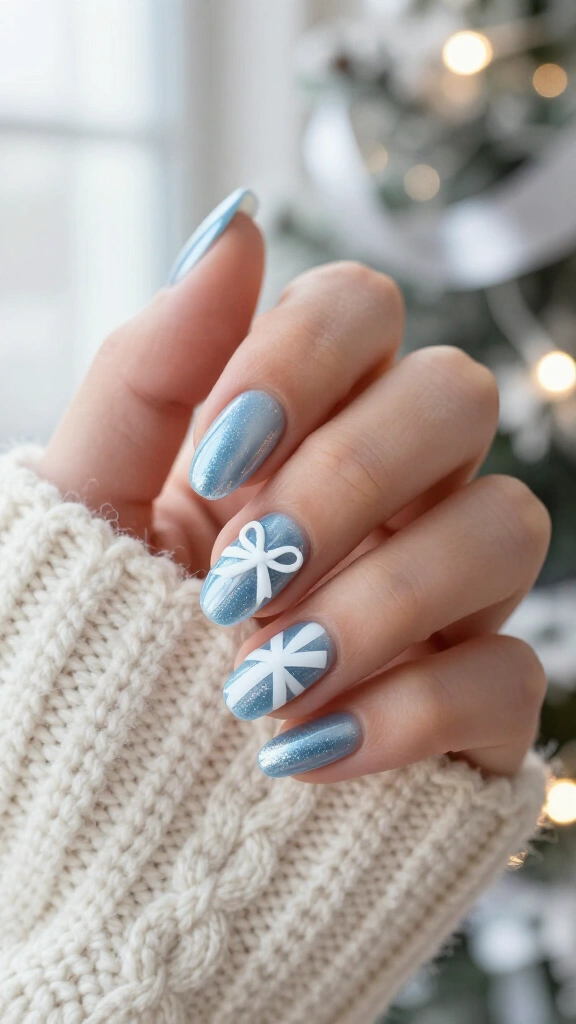
Turn an accent nail into a small holiday gift box. Start with an icy blue or metallic silver base coat. Once that layer dries, paint two intersecting white lines across the nail with a striping brush.
Add two small loops where the lines cross to form a bow. This simple step turns an everyday manicure into a gift-wrapped holiday style in under two minutes.
18. Sparkling Evergreen Garland Edges
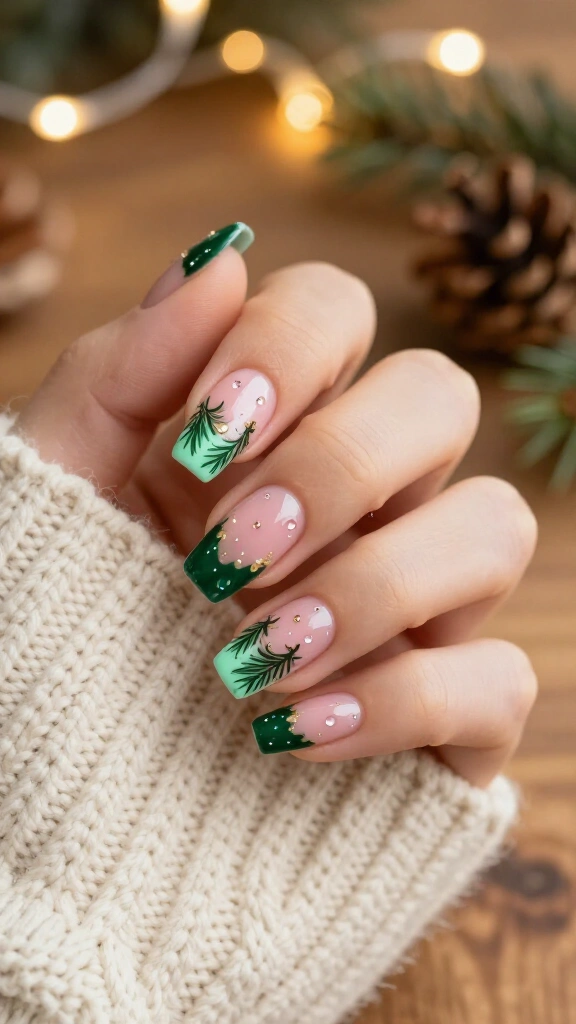
Frame your nail tips with a quick dotting technique that looks like evergreen pine boughs. Paint a sheer pink base, then layer overlapping dots of dark green and mint along the top curve of your nail.
Add several small gold dots across the greens to mimic tiny tree lights on a holiday garland. The uneven dot placement covers small mistakes while giving you a custom holiday look.
Pro Tips for Long-Lasting At-Home Holiday Nails
- Dehydrate your nail plate: Wipe each nail with acetone or rubbing alcohol before applying your base coat to clear away natural oils.
- Cap the free edge: Brush polish over the front edge of each tip to stop premature wear and chips.
- Refresh top coat mid-week: Paint a fresh layer of clear top coat over your nails every three days to protect the color during busy holiday weeks.
You do not need salon licenses or piles of pricey tools to create cheerful holiday nails. With basic household items, a few winter polishes, and twenty minutes of quiet time, you can paint these 18 cute simple Christmas nails even beginners can do at home. Pick your favorite style, put on some music, and give yourself a quick DIY manicure tonight!
Leave a Reply
You must be logged in to post a comment.