
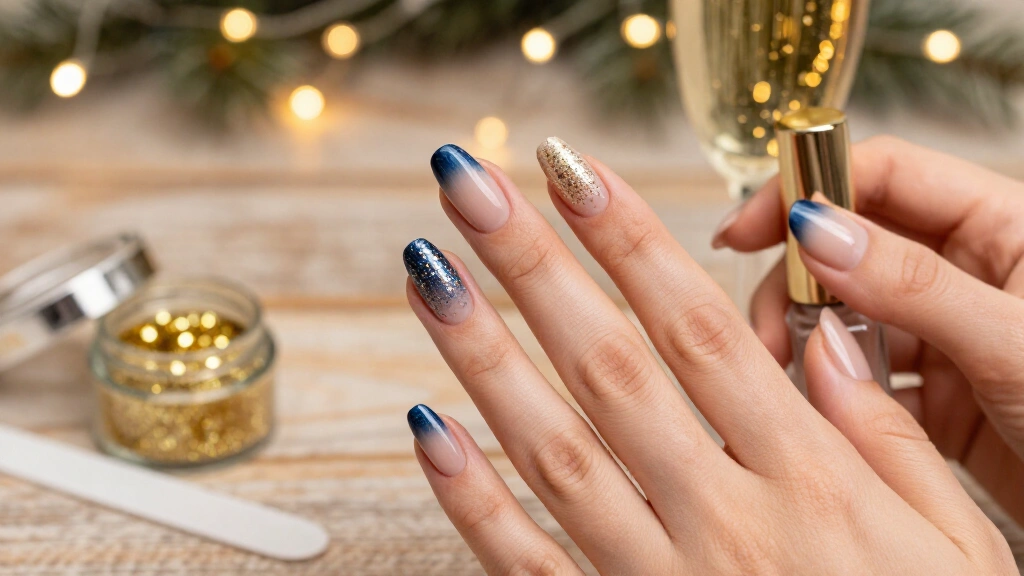
Every December, nail salons raise their prices while appointment slots vanish. You do not need to spend ninety dollars on a manicure when you can paint your own nails at your kitchen table in twenty minutes.
A pot of craft glitter, a nude base polish, and a glossy clear coat give you professional results at home. Learning how to do a salon-quality manicure at home saves money for your holiday drinks. Grab a file, choose a design below, and paint your nails before the party starts.
1. Midnight Sparkle French Tips
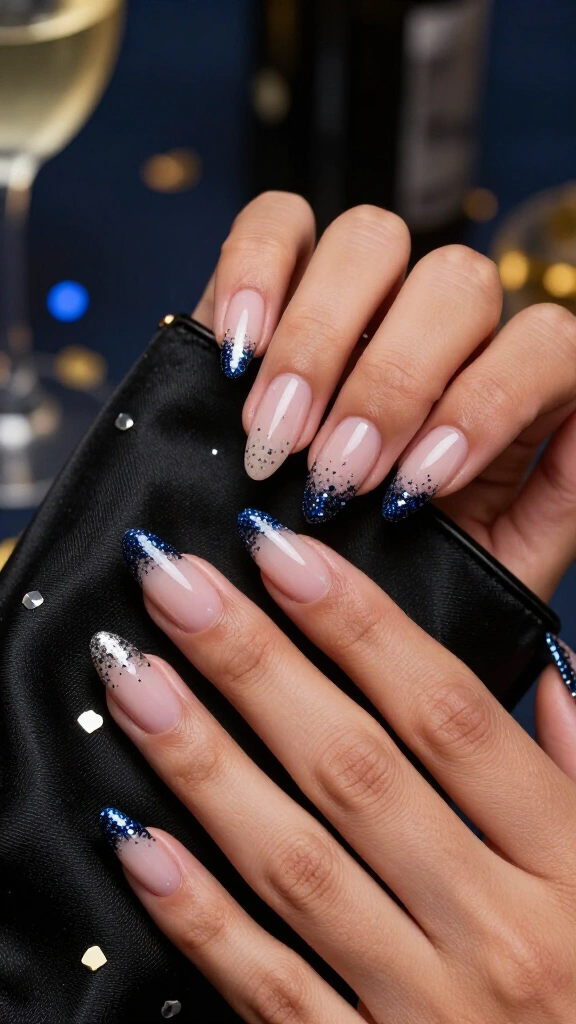
Swap the traditional white tip for dark glitter. Apply a sheer pink base, then press your nail tips straight into fine cosmetic glitter while the polish remains wet. Brush on two layers of clear top coat to smooth down the texture. This spin on the French manicure brings extra shine to any party outfit.
2. Minimalist Gold Cuticle Dots
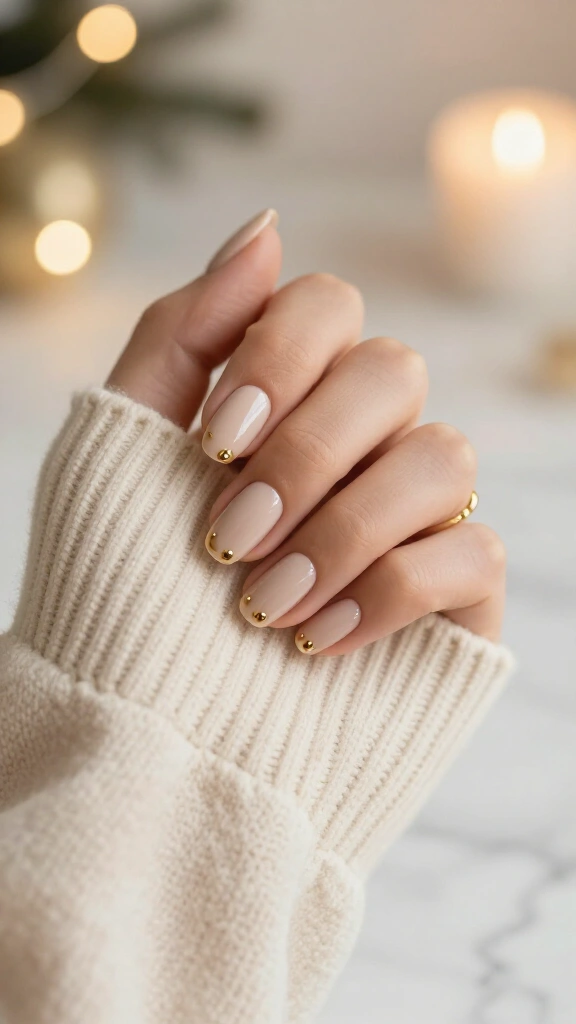
This tiny design takes seconds and looks sharp. Brush a milky nude shade across your nails and let the polish dry. Dip the tip of a bobby pin into metallic gold lacquer, then press a single dot right above your cuticle line. Writers on Byrdie track these micro-accents because they offer a clean look with minimal upkeep.
3. Champagne Shimmer Wash
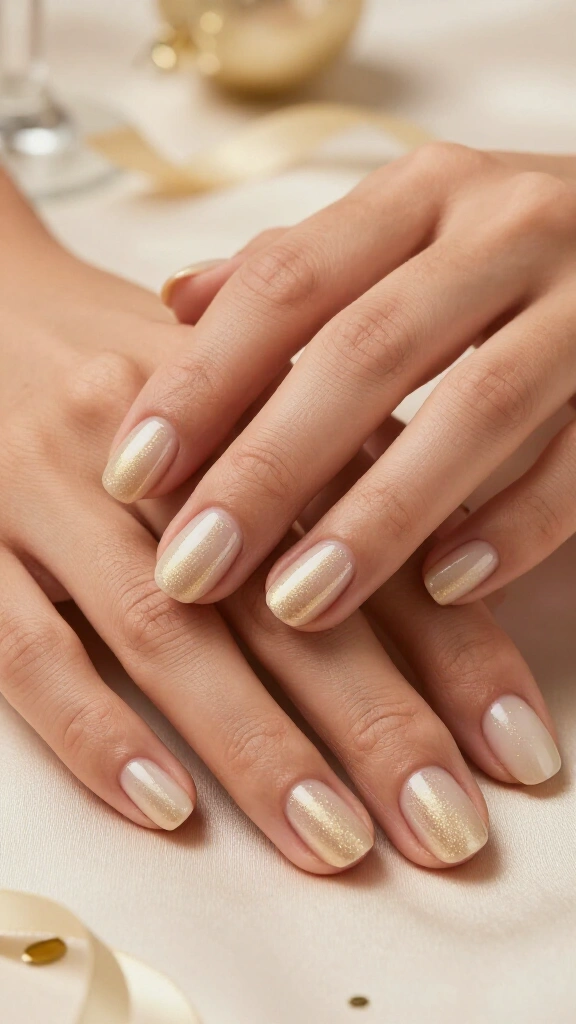
Champagne shimmer polish forgives shaky hands and hides uneven brush strokes. Paint two coats over bare nails for a light golden wash that catches the light. The sheer formula dries in minutes, and small chips blend into the base color without showing.
4. Classic Velvet Black with Silver Foil
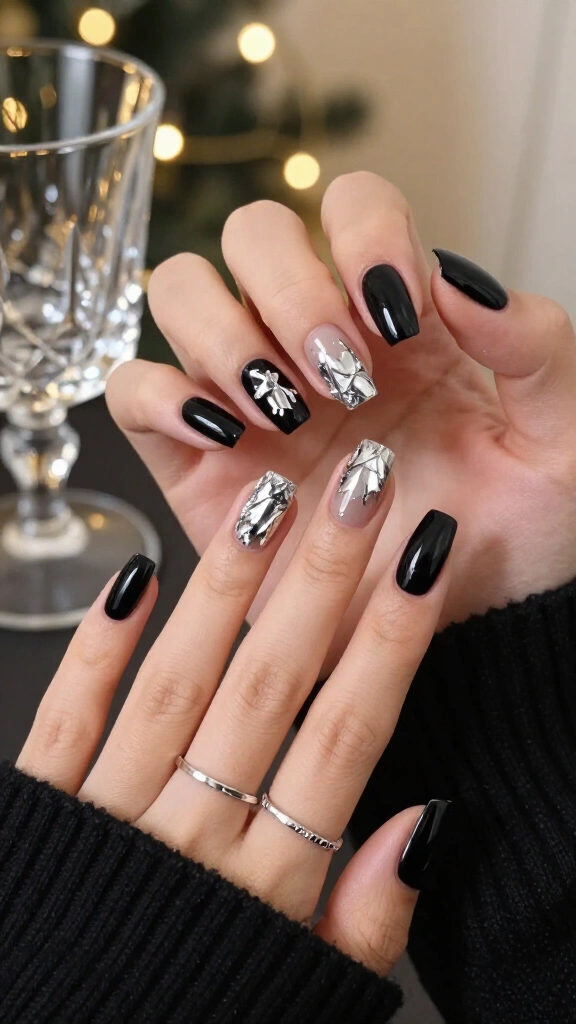
Create high contrast with black and metallic accents. Apply two coats of black polish, pulling color ideas from these black fall nail ideas. Use tweezers to place tiny pieces of silver craft foil onto the tacky color. Finish with a thick top coat to smooth the metal edges flat against your nail.
5. Barely-There Nude with Starburst Decals
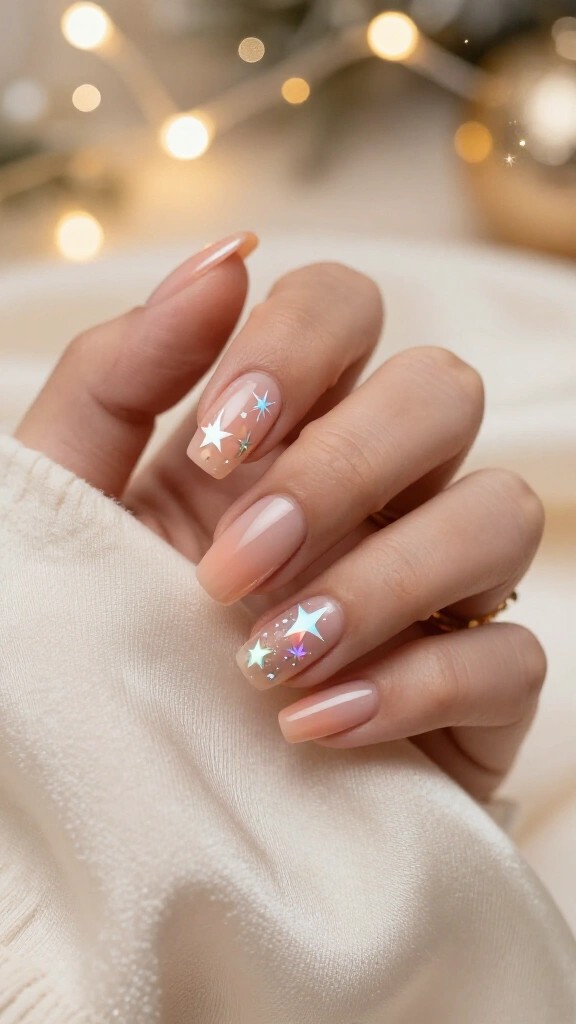
Nail stickers save time and deliver precise art without steady-hand drawing. Paint your nails with a sheer peach polish. Once dry, press holographic star decals onto your middle and ring fingers, smoothing out any air bubbles with your fingertip. A clear top coat locks the edges down so the stickers stay put all evening.
6. Holographic Glazed Donut Nails
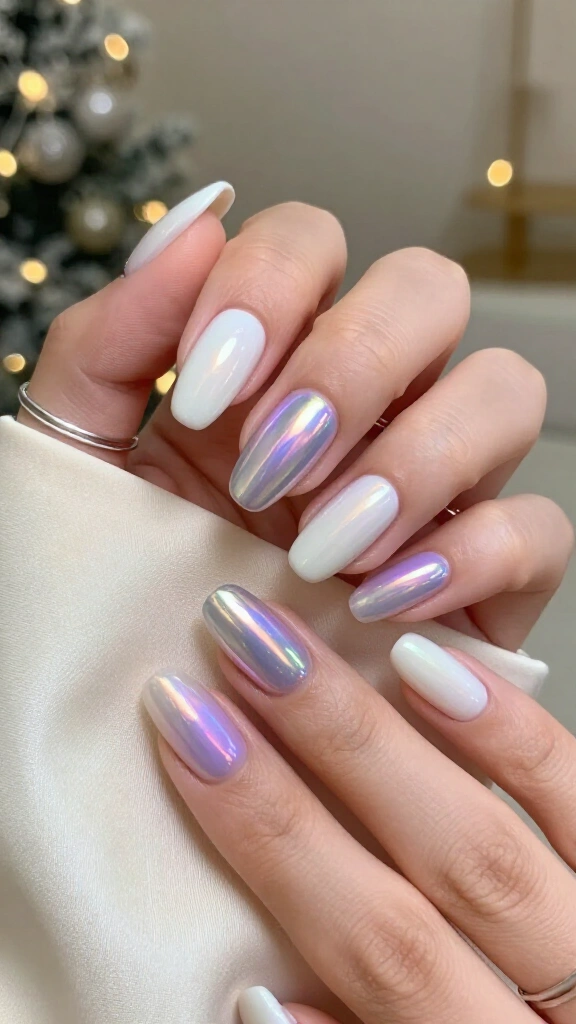
Update chrome nails for New Year celebrations. Start with a semi-sheer white base coat, then buff a pearlescent chrome powder over the surface using a soft foam applicator. The finish shifts between lavender and silver under indoor lighting. This mirror shine easily outperforms standard metallic polish.
7. Emerald Green with Micro-Glitter Accent
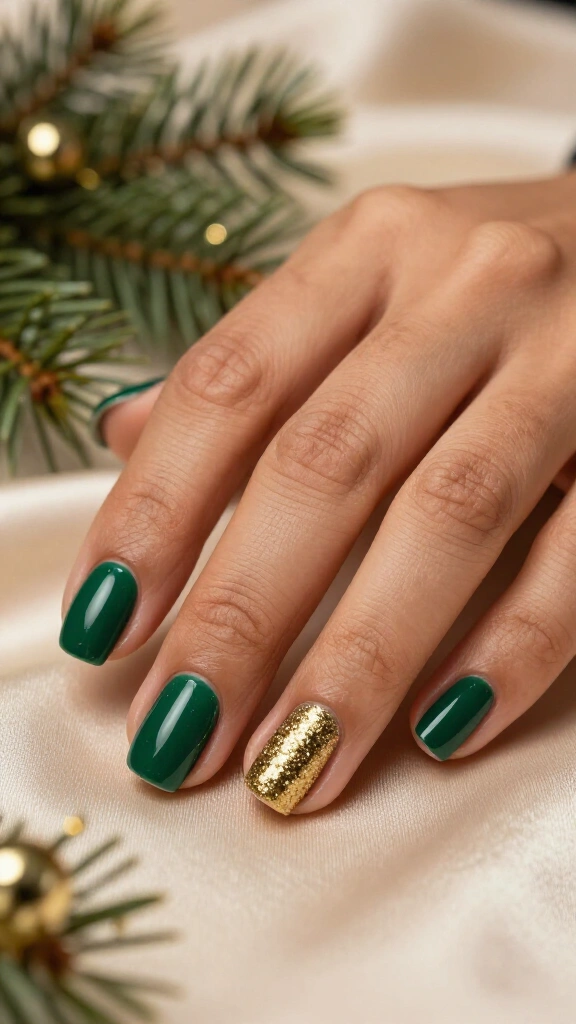
Dark jewel tones match winter parties well. Paint your nails with a rich forest emerald polish, reserving your ring finger for an antique gold glitter. The deep green shade creates depth on short nails while the single glitter nail adds holiday sparkle without extra painting steps.
8. Rose Gold Ombre Fade
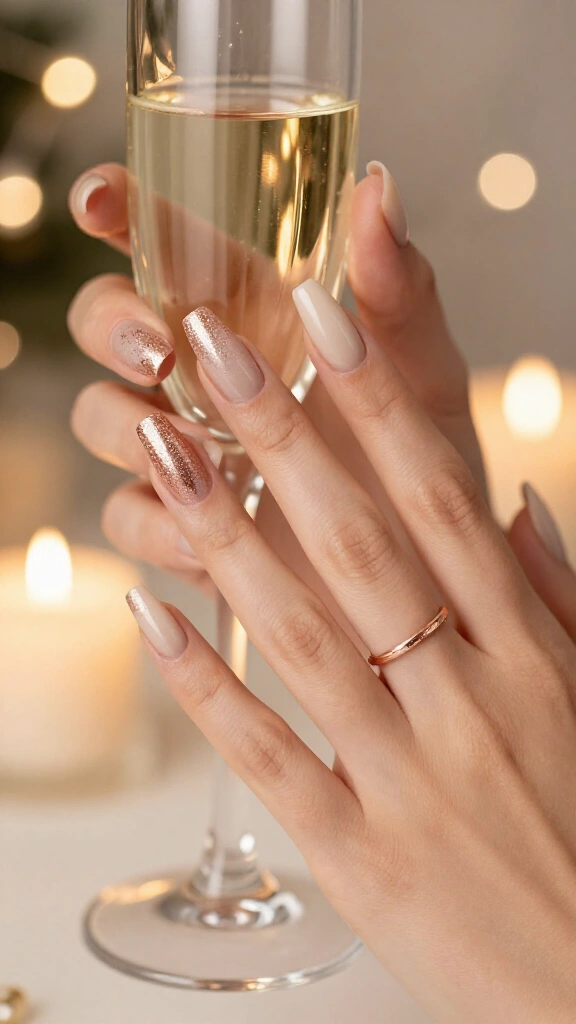
A common makeup sponge builds an ombre gradient with zero freehand line work. Apply a beige base coat and let it dry. Paint rose gold glitter directly onto the edge of a foam wedge, then dab the sponge from the nail tip downward toward the middle. This distributes dense glitter at the tip that fades softly toward the cuticle.
9. Modern Silver Chrome Line Art
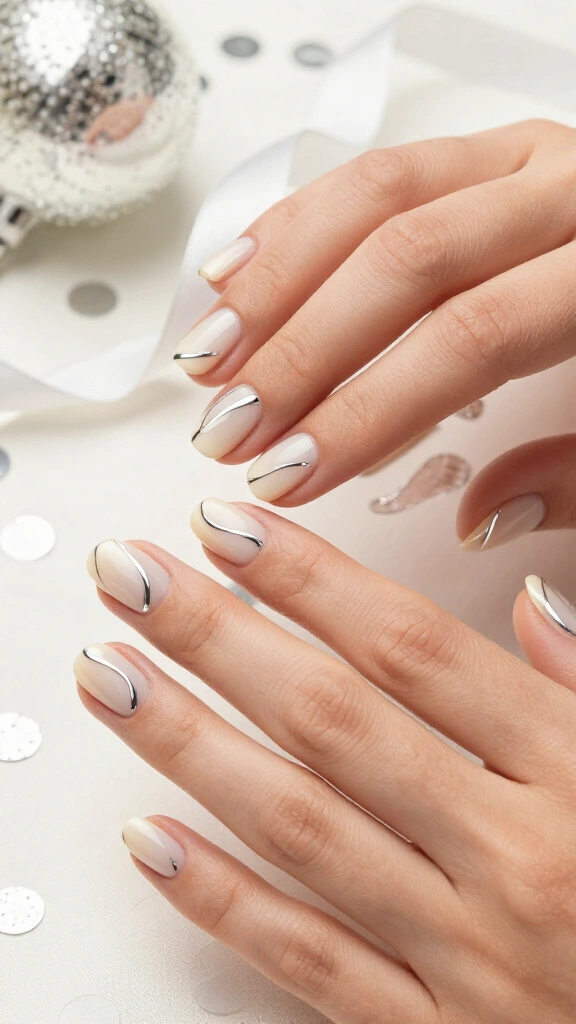
Graphic lines give short nails a sharp, deliberate finish. Coat your nails in a sheer cream shade. Dip a fine detail brush into silver chrome polish, then draw a single curving line across each nail plate. Vary the curve on each finger by following the cuticle on one and sweeping across the tip on another. Irregular lines keep the final set playful.
10. Tuxedo Half-and-Half Tips
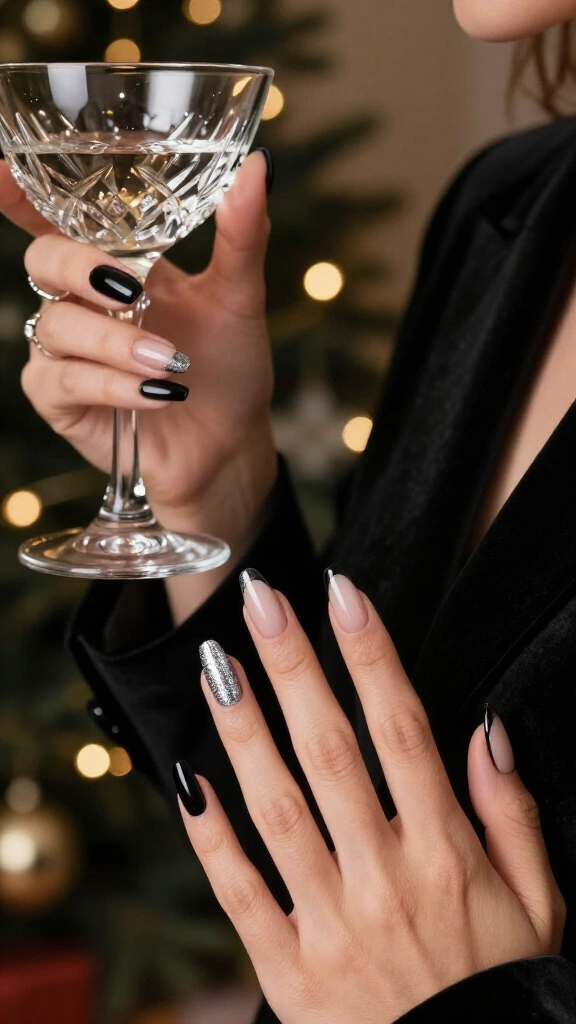
Create a sharp split design using common household tape. Place a small strip of tape diagonally across your nail tip, paint the exposed side in black, and remove the tape while the lacquer remains wet. Once dry, tape the opposite diagonal and paint it silver. The crisp line pairs well with dark holiday evening wear.
11. Confetti Glitter Topper on Sheer Pink
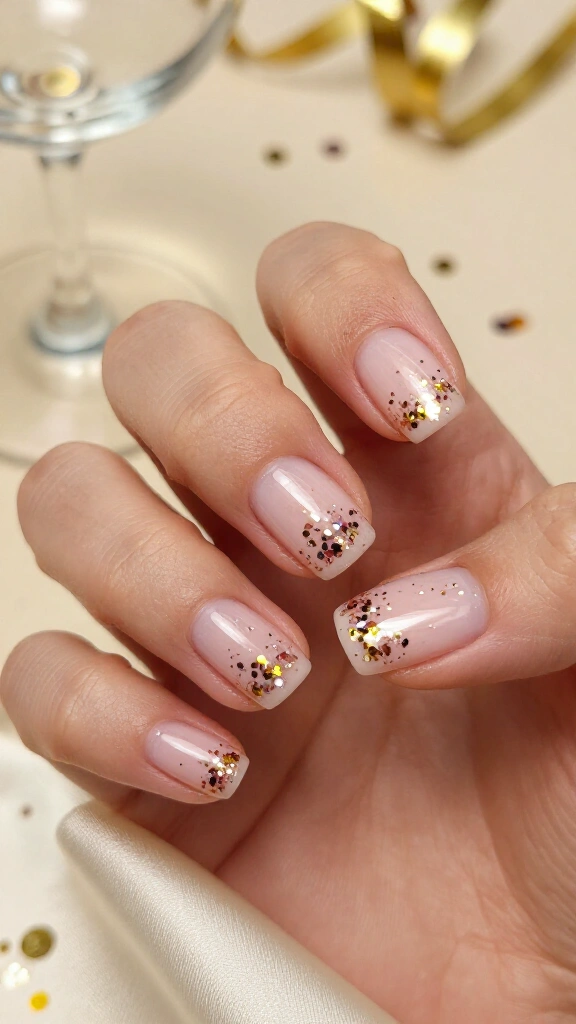
This combination takes under five minutes before you walk out the door. Apply one coat of quick-drying pale pink lacquer. Follow immediately with a clear coat containing multi-sized metallic glitter, dabbing extra glitter flakes near the nail tips. The result mimics falling party confetti with zero salon fees.
12. Matte Charcoal with Glossy French Tips
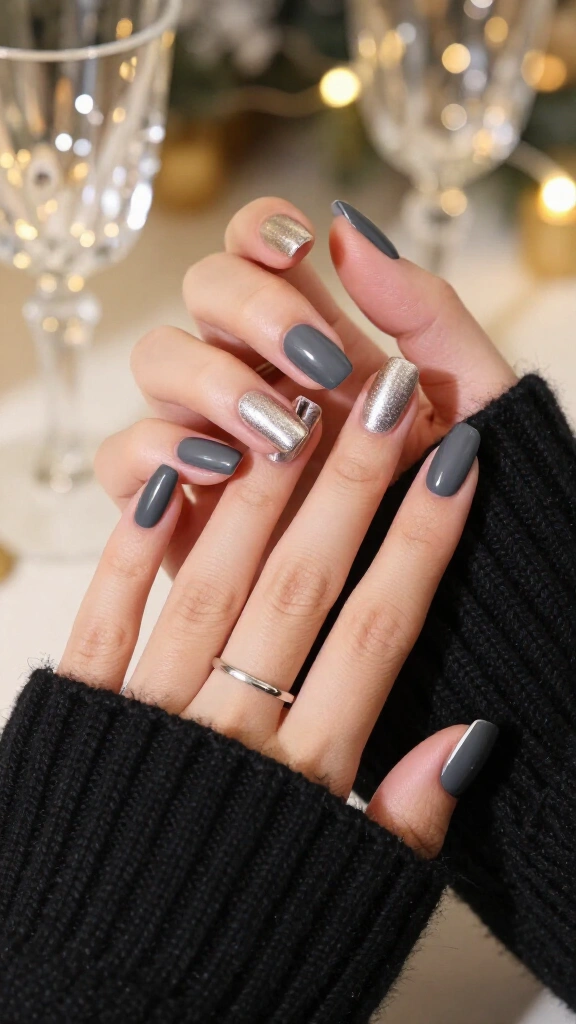
Contrasting textures create interest on dark nails. Paint your nails in slate gray and cover them with a flat matte top coat. After the matte layer dries completely, paint a classic French tip across the edge using a glossy clear polish. The contrast between the flat base and shiny edge gives the impression of a custom salon treatment.
13. Peachy Glow with Golden Flakes
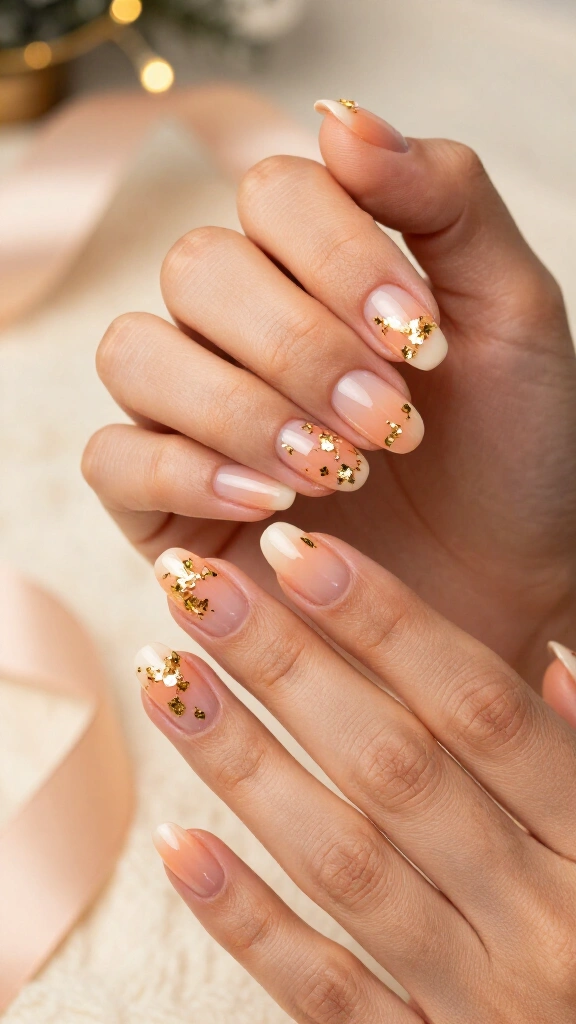
Warm undertones provide a welcome change from cold winter palettes. Layer a translucent peach jelly polish across the nail plate, then add a clear coat containing real gold leaf flakes. The sheer peach background creates noticeable depth underneath the reflective foil flecks.
14. Deep Plum with Iridescent Shimmer
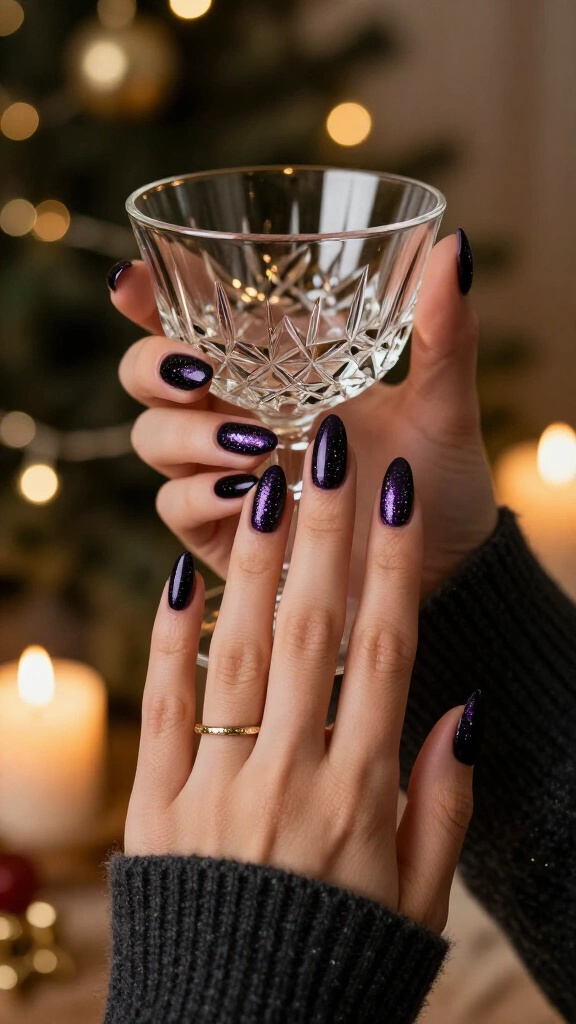
Deep plum offers a rich alternative to traditional crimson. Apply two coats of dark blackberry polish, then brush a sheer layer of violet shimmer over the dry color. Beauty editors at Allure frequently recommend deep jewel tones during winter because these shades flatter diverse skin tones.
15. Chunky Disco Ball Accent Nail
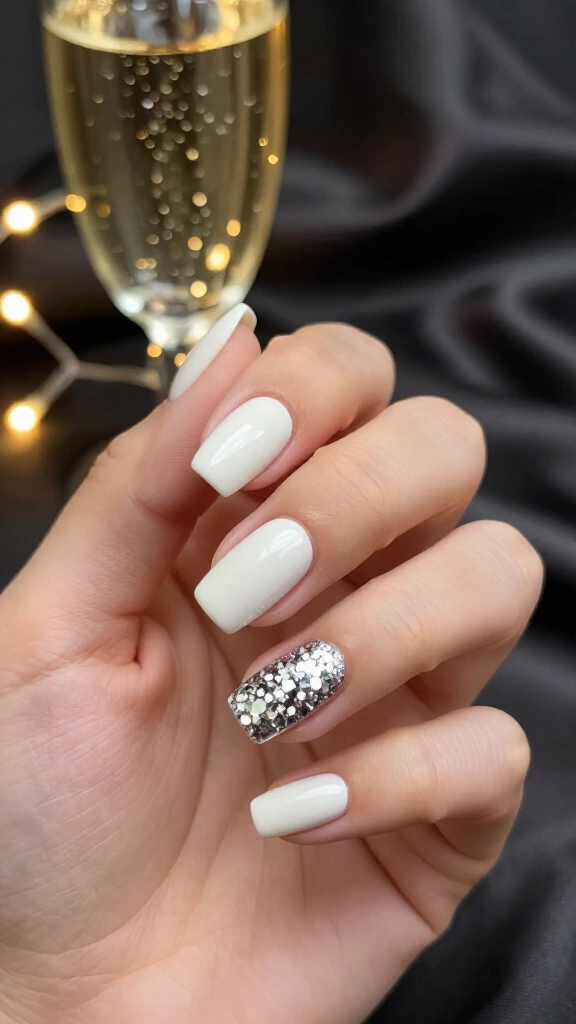
A single statement nail keeps heavy glitter manageable. Paint nine fingers with an opaque warm white lacquer. Dab dense silver hexagonal glitter onto your ring fingernail until the flakes completely cover the base. The finished nail catches every light beam in the room while keeping the rest of your manicure neat.
16. Celestial Constellation Nails
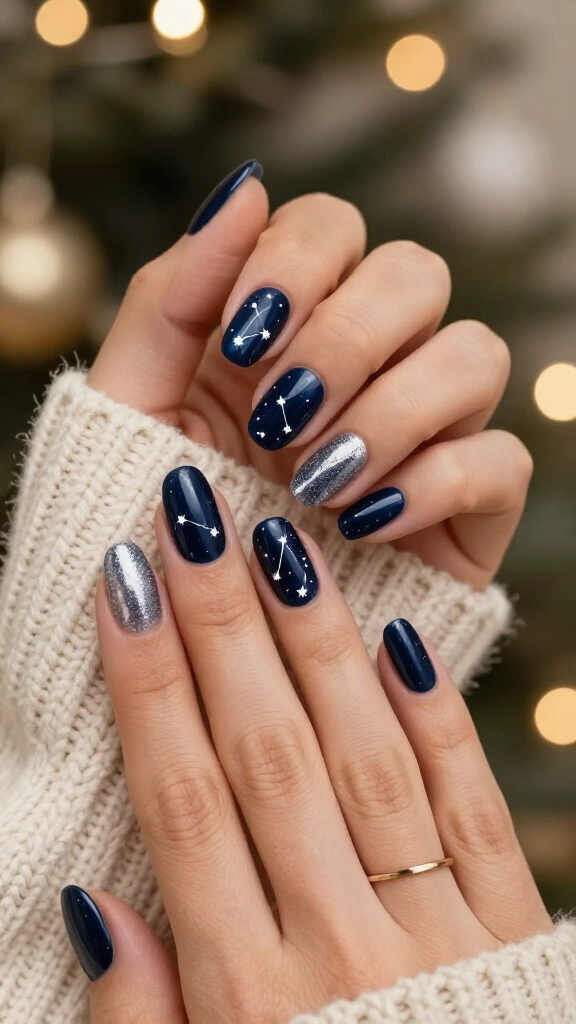
Paint your nails with a deep midnight navy polish as your night-sky backdrop. Dip the pointed tip of a wooden toothpick into white polish to stamp tiny star dots across accent nails. Connect three or four dots with razor-thin white lines to map out your favorite zodiac constellation.
17. Electric Sapphire Press-Ons
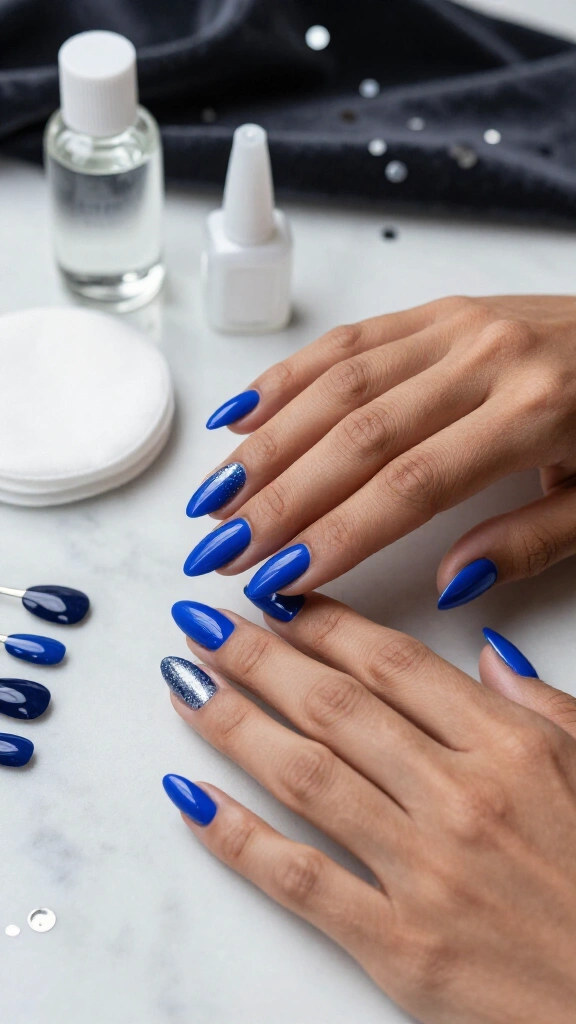
Modern press-on sets provide instant length and shape at minimal expense. Buy a drugstore pack of almond-shaped sapphire blue nails for under ten dollars. Clean your natural nails with rubbing alcohol before gluing them down to remove natural oils and extend wear time. You get the appearance of sculpted acrylics in ten minutes.
18. Frosted Pearlized Chrome
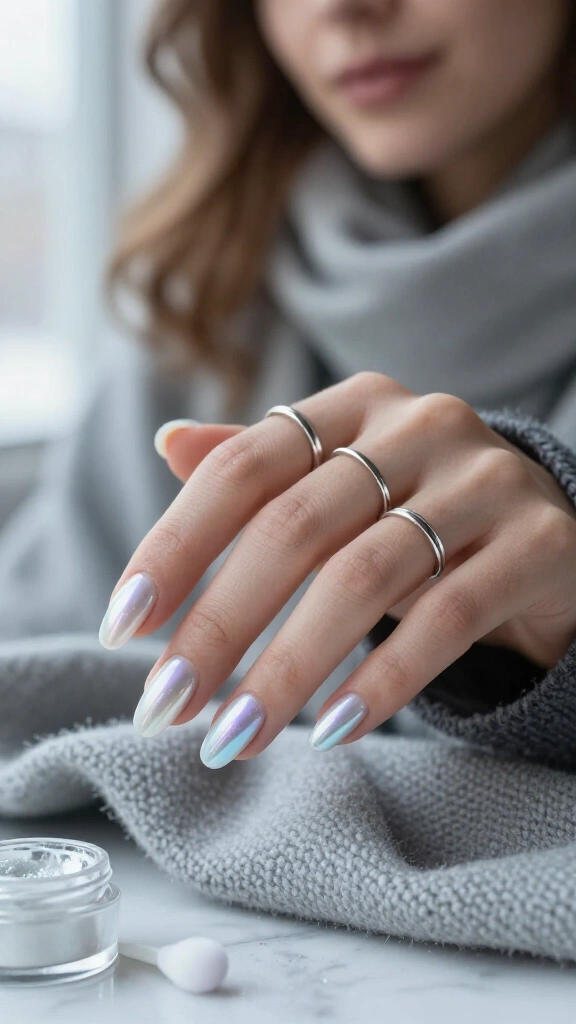
This icy finish complements silver rings and winter coats. Paint a sheer white base coat and let it dry until tacky. Rub pearl chrome powder over the surface with a small makeup applicator to produce an opalescent sheen. You can also duplicate this effect by brushing on a vintage pearlescent white lacquer without any separate powder.
19. Diagonal Metallic Ribbon Stripes
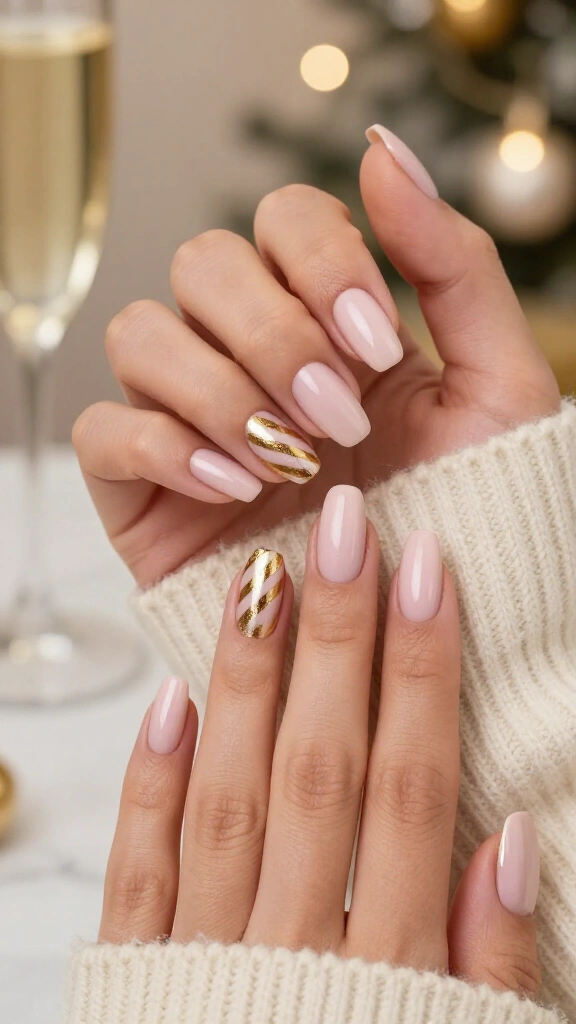
Adhesive nail striping tape eliminates the need for steady hand painting. Apply a pale blush base coat and wait for complete dryness. Press narrow gold striping tape diagonally across each nail, trimming the ends flush against the sidewalls with cuticle nippers. Seal the tape under a thick clear coat so the edges never snag on clothing.
20. Copper Foil Splatter on Clear Base
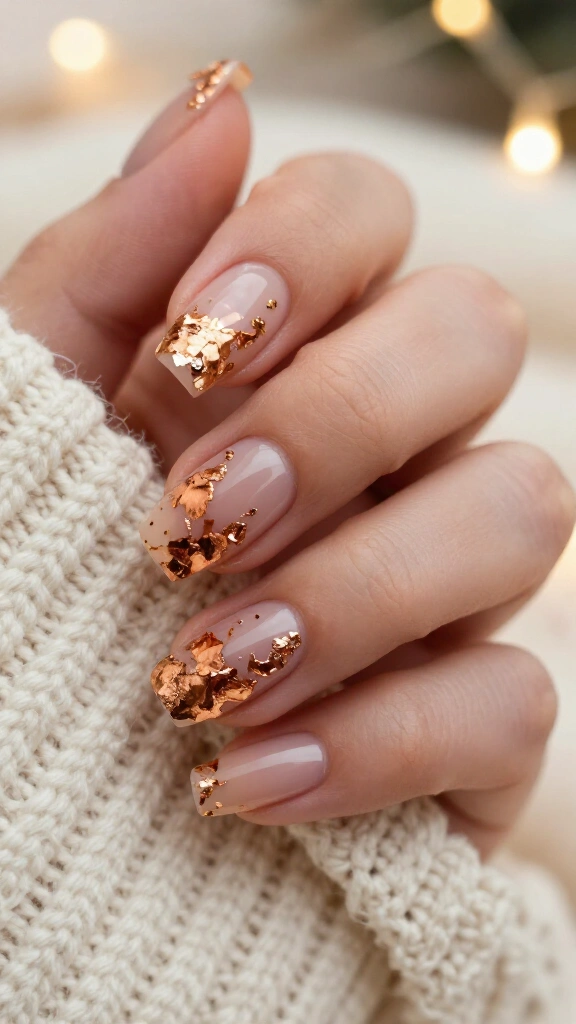
Copper foil introduces a warm metallic tone that stands apart from standard silver and gold. Paint your natural nails with a clear strengthening base. Press shredded copper leaf randomly onto the sticky surface, leaving negative space around each piece. The scattered foil produces an artful design in under five minutes.
21. Moody Wine Negative Space Moons
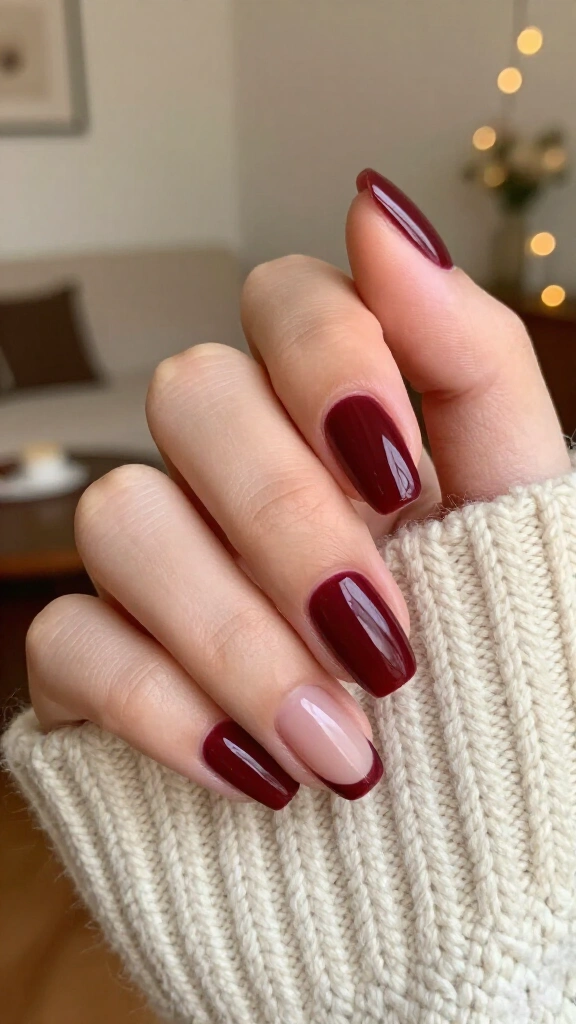
Negative space designs conceal nail regrowth, helping your manicure last through the first weeks of January. Stick binder reinforcement labels over the bottom half-moons of your cuticles. Apply two coats of deep cabernet, drawing shade ideas from classic red Christmas nails, then lift the stickers immediately while the polish is wet. The sticker leaves a clean, bare curve at the base of each nail.
22. Icy Platinum Micro-French
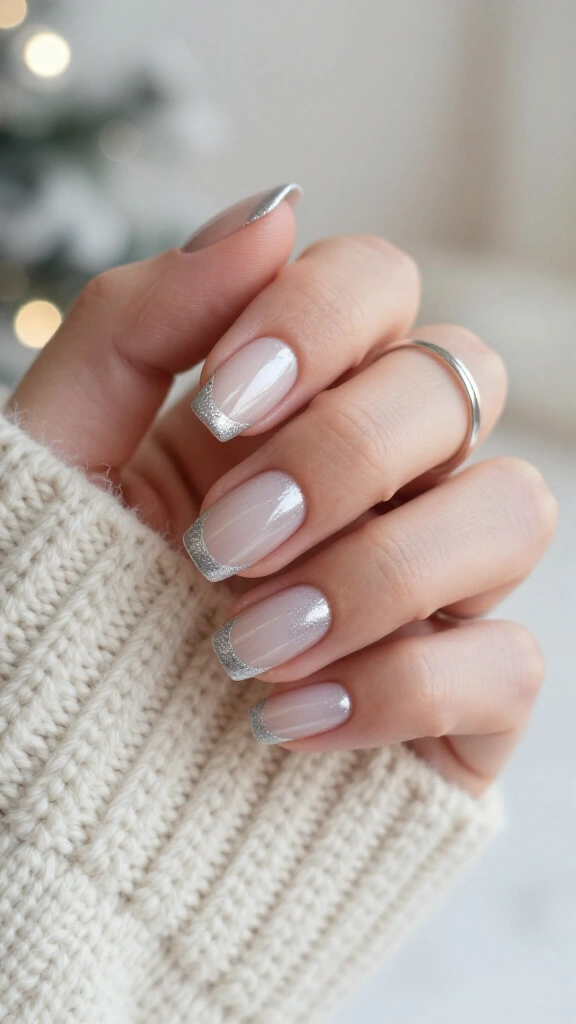
Micro-French tips give short and long nails an updated look. Apply a high-shine clear base coat. Use a thin nail art brush to paint a hair-thin line of platinum silver across the free edge of your nail. This slim border adds a metallic flash without overwhelming shorter nail shapes.
23. Gilded Edge Minimalist Contours
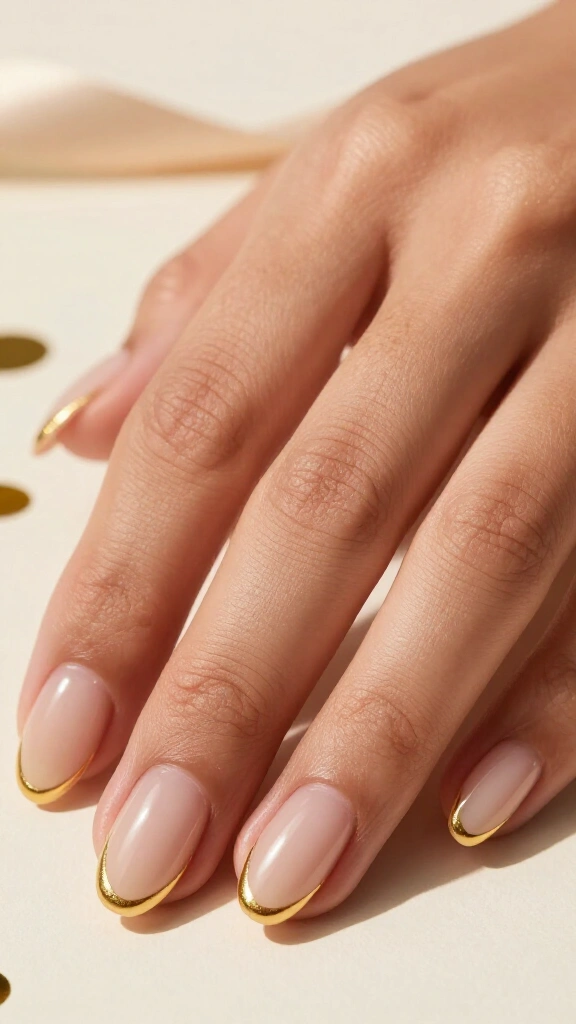
Outline the perimeter of your nails to create a clean geometric frame. Paint your nails with a sheer nude wash. Draw a fine gold line along the outer sidewalls and the cuticle curve, leaving the center of the nail plate bare. The gold border frames your nail bed like fine jewelry.
24. Smokey Quartz Marble Nails
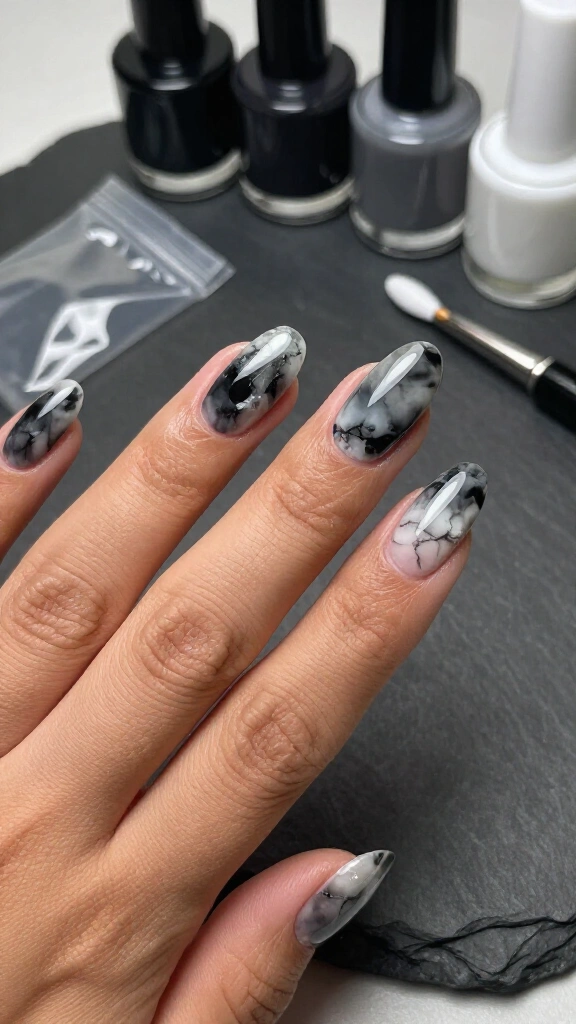
A standard food storage bag blends a believable stone marble pattern. Place small drops of black, gray, and clear polish onto the center of your nail. Dab a crumpled plastic bag lightly over the wet drops to muddle the shades together. Drag a detail brush dipped in white polish through the wet surface to form mineral veins, then apply a thick top coat to level the polish.
25. The Classic Crimson Sparkle

Deep crimson red remains a dependable holiday staple. Select a ruby red polish that contains fine suspension glitter throughout the bottle. Two coats produce deep color with visible depth that holds up under direct light. The shade pairs naturally with dark evening wear and gold jewelry when midnight arrives.
DIY holiday nails require a little patience rather than an expensive salon trip. Basic household items like makeup sponges, bobby pins, and foil sheets let you produce party-ready manicures at your desk. Pick your favorite design, prep your tools, and ring in the new year with a fresh set.
Leave a Reply
You must be logged in to post a comment.