
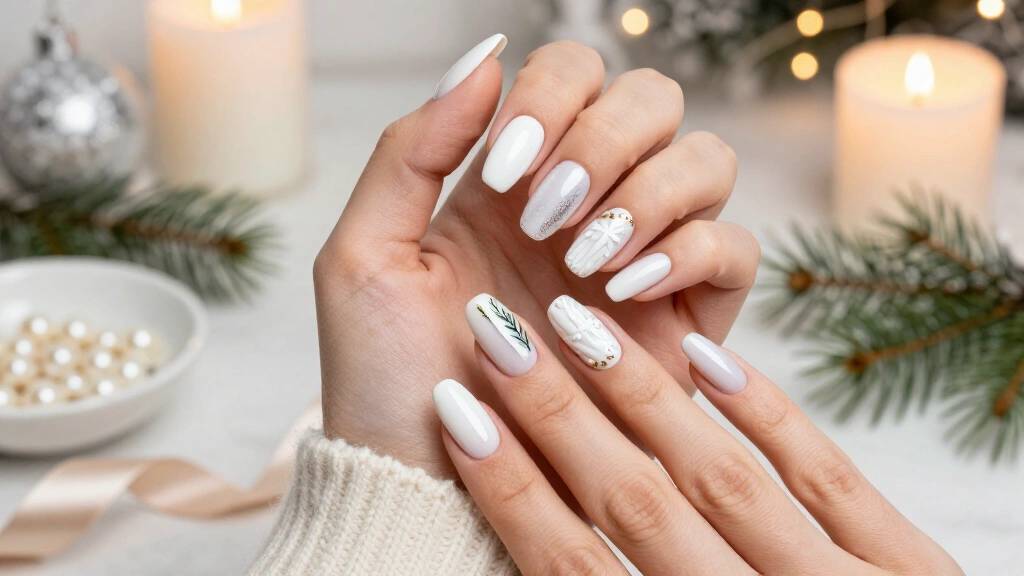
Holiday salon prices jump the moment December arrives. You might want polished nails for winter parties, but few people enjoy sitting in a salon chair for three hours or paying hefty fees for hand-painted art. Crisp white polish gives nails a clean, sophisticated look throughout the holiday season.
You can create high-end manicures at home using simple tools and affordable polishes. These 13 white Christmas nail ideas take minimal effort to recreate on your own. Browse our complete gallery of white Christmas nails for extra ideas. Pull out a bottle of white lacquer, and try one of these styles this week.
1. Milky glazed pearl chrome
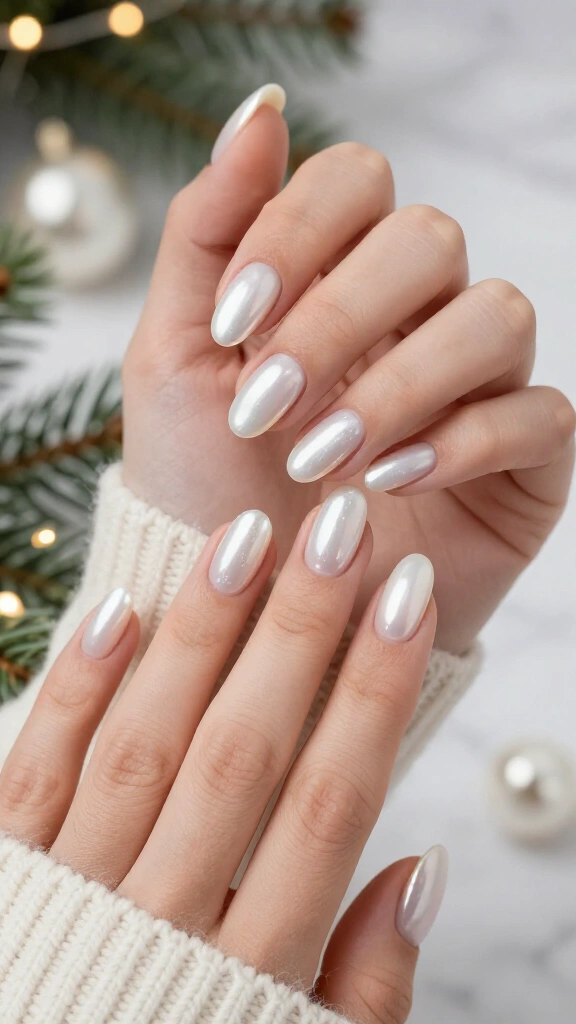
A pearlescent glaze gives nails an understated, luminous finish. While glazed finishes gained mainstream attention a few years ago, a milky base turns the style into a winter staple. Apply two thin coats of semi-sheer milky white polish, cure them, and buff a dusting of white chrome powder directly over your cured top coat.
The fine shimmer catches holiday lights without the messy look of craft glitter. Writers at Byrdie frequently recommend chrome powders because they produce deep shine without requiring intricate painting skills. Seal the powder with a non-wipe glossy gel top coat to create a smooth, glass finish.
2. Frosted French tips with silver foil flakes
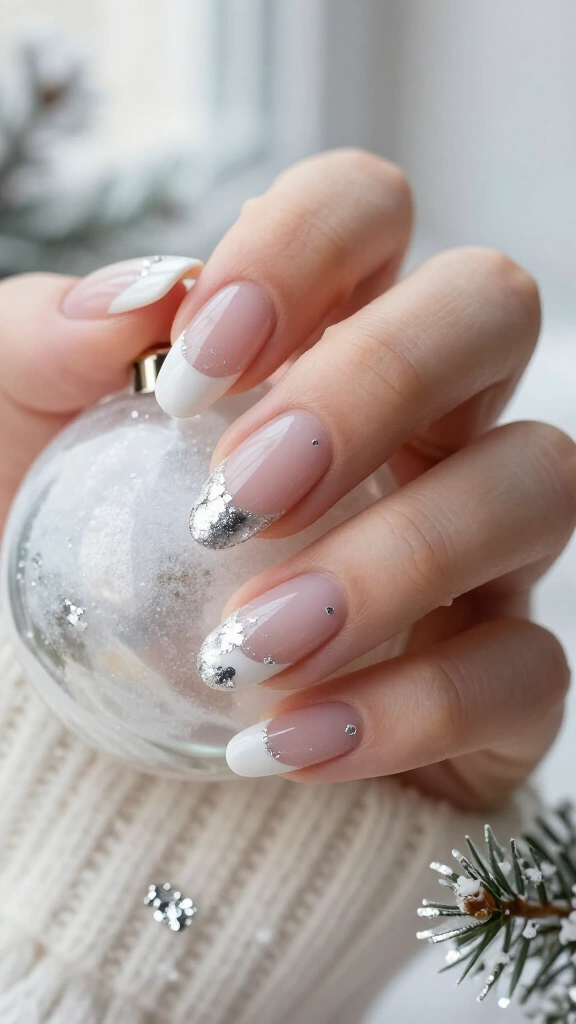
This design gives the standard French manicure a crisp winter update. Start with a sheer pink base to give your nail bed a clean, natural tint. Paint opaque white smile lines along the tips using a flexible silicone stamper to keep both hands neat and even.
Before the clear top coat dries, press tiny shreds of silver foil along the edge where the white tip meets the pink base. This small border conceals slightly uneven lines and resembles frost along a window pane. Tip: Use tweezers to place each delicate foil flake with precision.
3. Embossed white cable-knit sweater nails
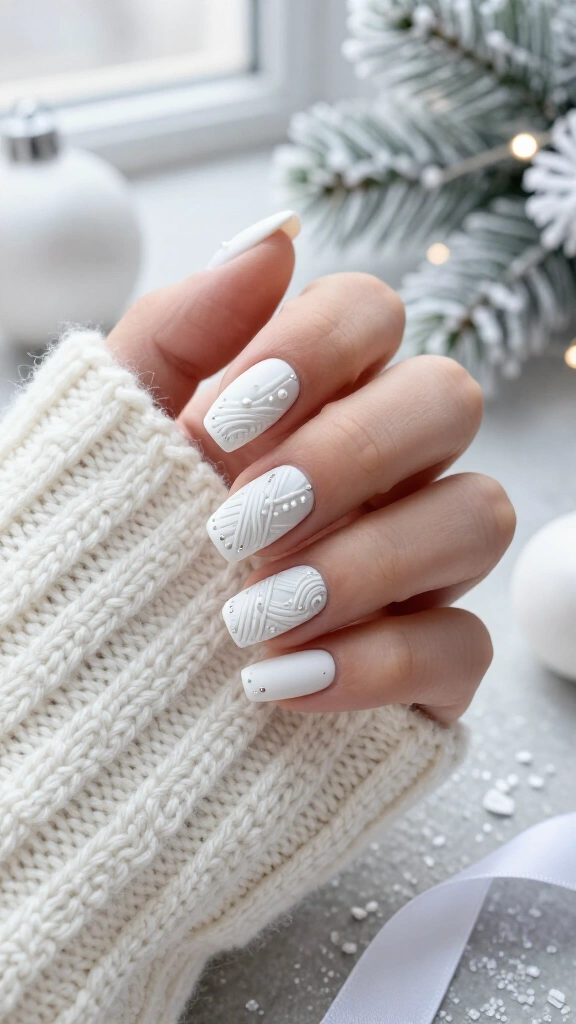
Sweater nails look complex, but they rely on a simple technique using thick builder gel or clear acrylic powder. Paint your nails with an opaque white polish and seal them with a matte top coat. Next, dip a fine detail brush into thick white builder gel and draw small braids, dots, or diagonal lines directly onto the matte surface.
Dust clear acrylic powder over the wet gel lines before you cure them under a UV lamp. This powder sets into a raised, tactile pattern resembling knit wool. Place this textured design on one accent nail if you prefer a cleaner, more understated manicure.
4. Minimalist dot-work snowflake accents
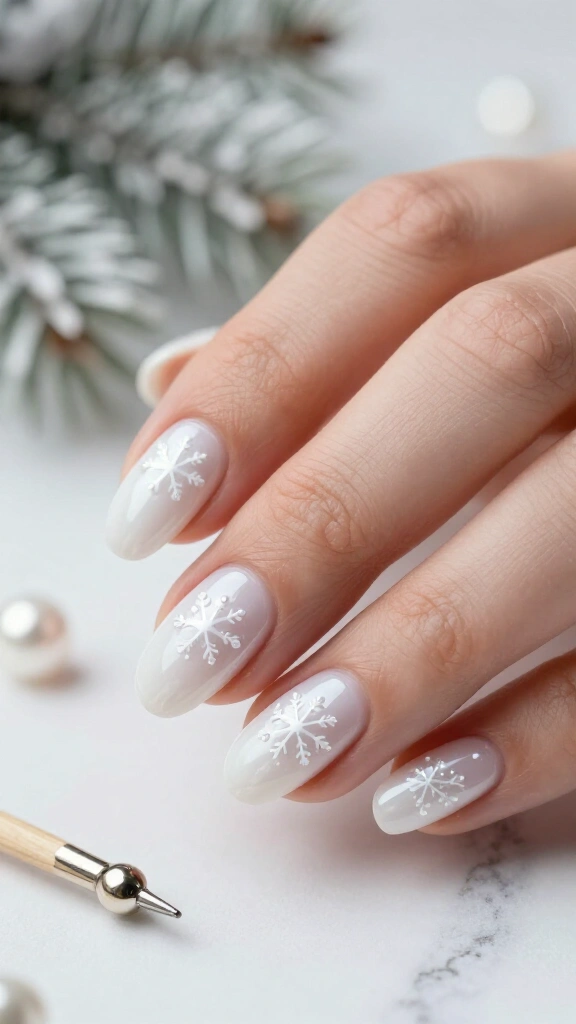
Painting realistic snowflakes with a fine brush often frustrates beginners. You can avoid that frustration entirely by using a double-ended ball dotting tool. Place a single central dot of white polish onto a milky base, then add four smaller dots around it in a clean cross pattern.
Drag the tip of a toothpick through each outer dot straight into the center dot while the polish remains wet. This quick motion creates sharp, crystal points in less than a minute. Apply a clear top coat to seal the geometric snowflake design for the week.
5. White velvet cat-eye nails
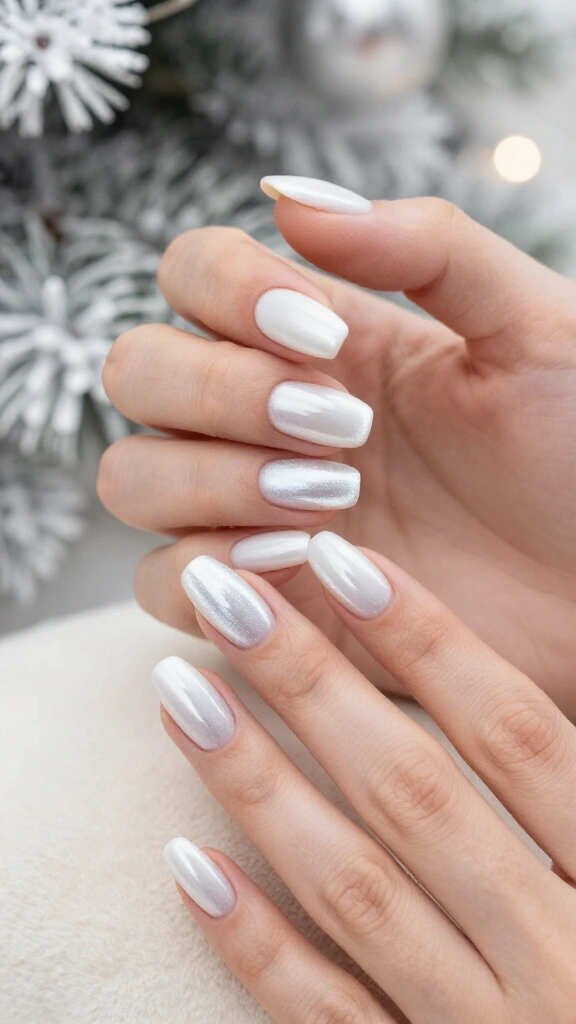
Magnetic gel polish produces a soft, velvet shimmer that shifts in the light. Apply a layer of white magnetic gel, then hold your magnet stick near the sides of your nail to pull the metallic particles toward the center. Beauty coverage in Vogue points to velvet nails as a popular cold-weather trend because the magnetic particles give flat polish dimensional depth.
The shimmer glides across the nail surface as your hands move. You avoid intricate hand-painting because the magnetic field creates the entire visual effect. This finish pairs especially well with almond or oval nail shapes, which allow the light to travel across a longer curve.
6. Crisp micro-French with floating pearls
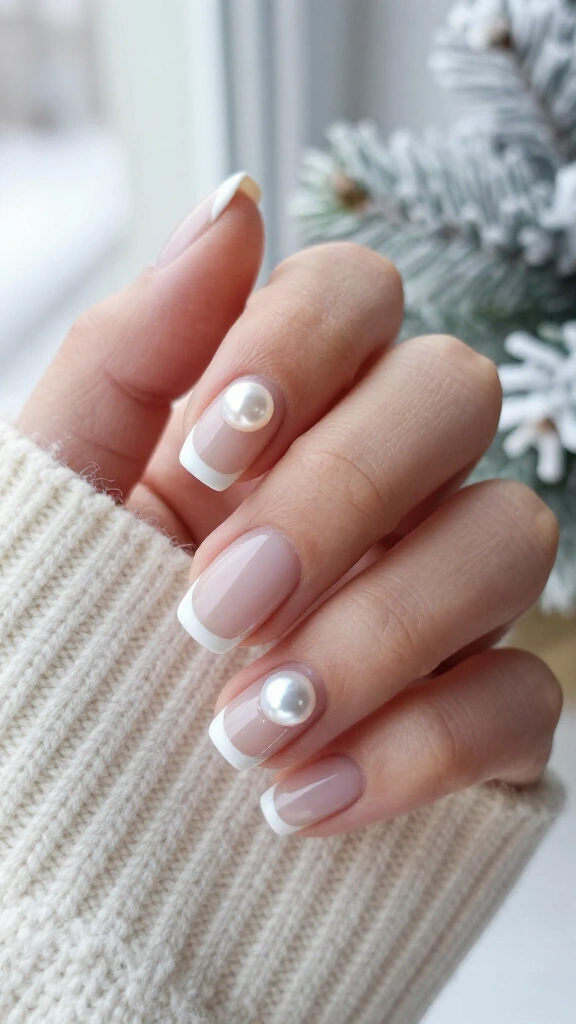
Large 3D nail charms often snag on winter sweaters and gloves, but flat-back micro-pearls sit close to the nail surface without catching. Paint an ultra-thin white micro-tip along the outer edge of your nail bed. Add a tiny drop of brush-on nail glue near your cuticle, then set a single flat-back pearl directly onto the glue.
This open negative-space layout makes shorter nails appear longer without crowding the nail plate. Minimal placement keeps the final look refined rather than cluttered.
7. White ombré baby boomer fade
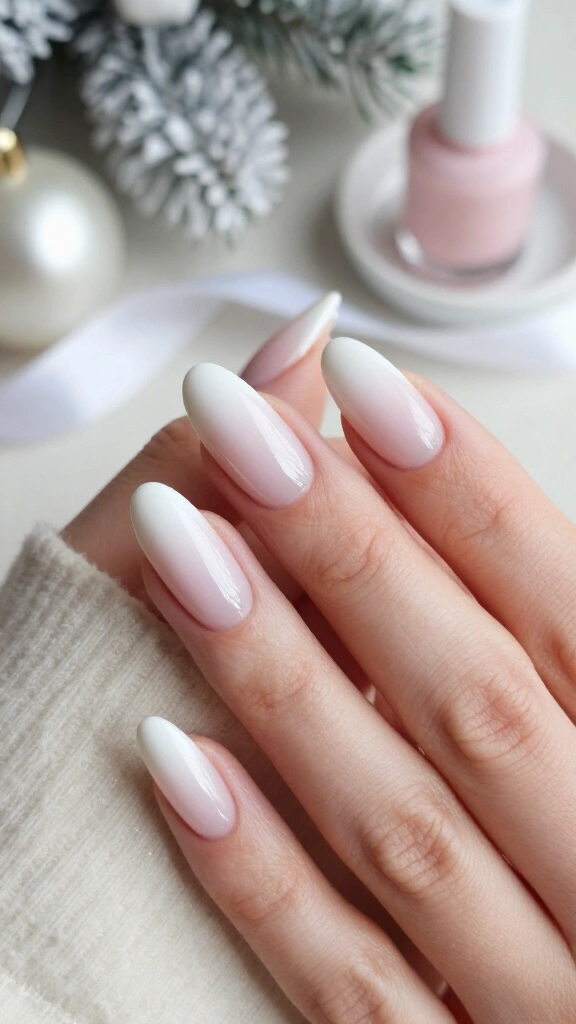
The classic baby boomer manicure blends soft petal pink into bright white tips to form a smooth, gradual fade. You do not need an airbrush machine to achieve this look at home. Paint adjacent stripes of white and nude-pink polish onto the edge of a disposable makeup sponge, then press the sponge lightly across your nail.
Dab the sponge two or three times, and let each layer dry before you apply the next. Coat the blended nail with a sheer milky-pink polish to soften any rough texture from the sponge. This gentle transition between colors masks new nail growth, so the manicure stays presentable well past New Year celebrations.
8. Chic white swirls on bare nails
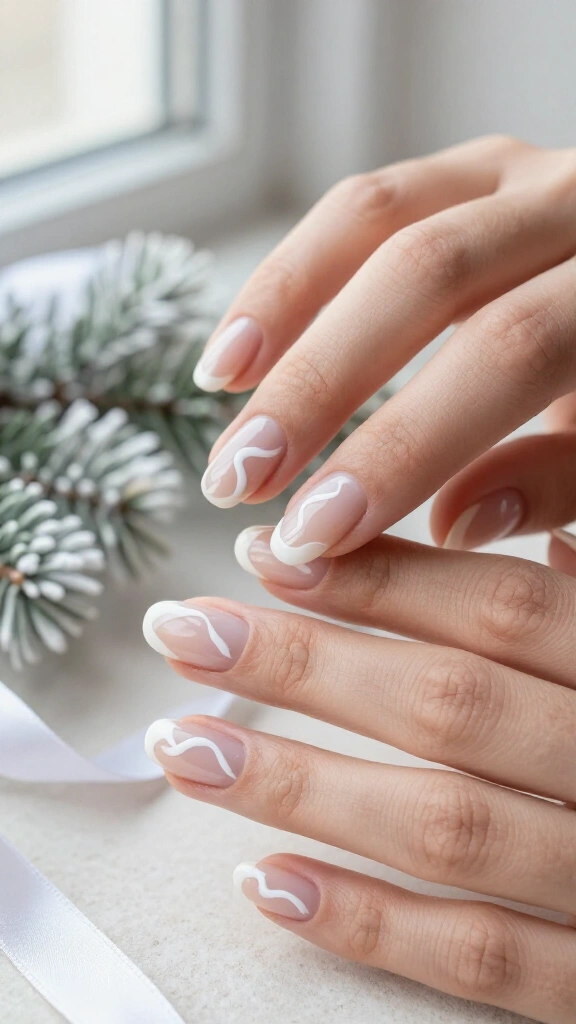
Negative-space swirl art works well for beginners because wavy lines forgive small mistakes. Coat your nails in a clear or tinted base coat that evens out your natural nail tone. Dip a long striping brush into opaque white polish and paint loose, curved lines from the cuticle down to the tip.
Because the curves remain abstract, you do not need matching patterns on every finger. The contrast between your natural nail and the solid white ribbons creates an editorial effect without demanding strict symmetry. You can finish this design in twenty minutes before heading to a holiday dinner.
9. White marble with gilded gold veins
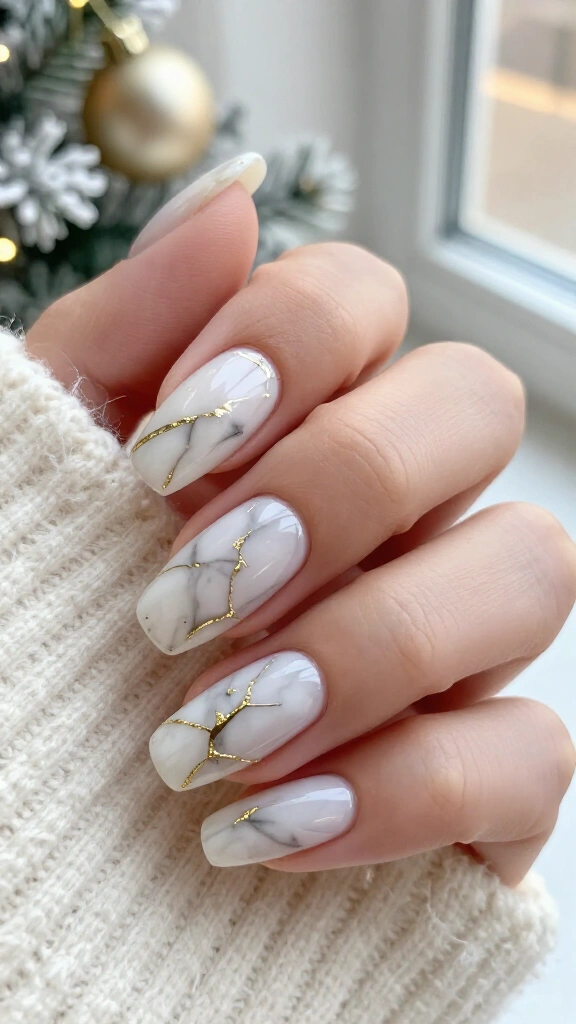
Soft gray veins and metallic flecks turn basic white nails into a pattern reminiscent of polished marble. Apply an opaque white base coat, followed by a thin layer of wet clear polish. Add a few small dabs of sheer gray polish, then swirl the colors gently with an acetone-dipped brush to mimic natural stone veins.
Once the gray layer dries, paint thin, fractured lines along the edges using a fine brush and gold metallic polish. Manicurists cited in Harper’s Bazaar recommend marble patterns because they pair well with seasonal jewelry while retaining a clean, neutral foundation. The warm gold detail contrasts sharply with the cool gray and white tones.
10. Subtle white candy cane accents
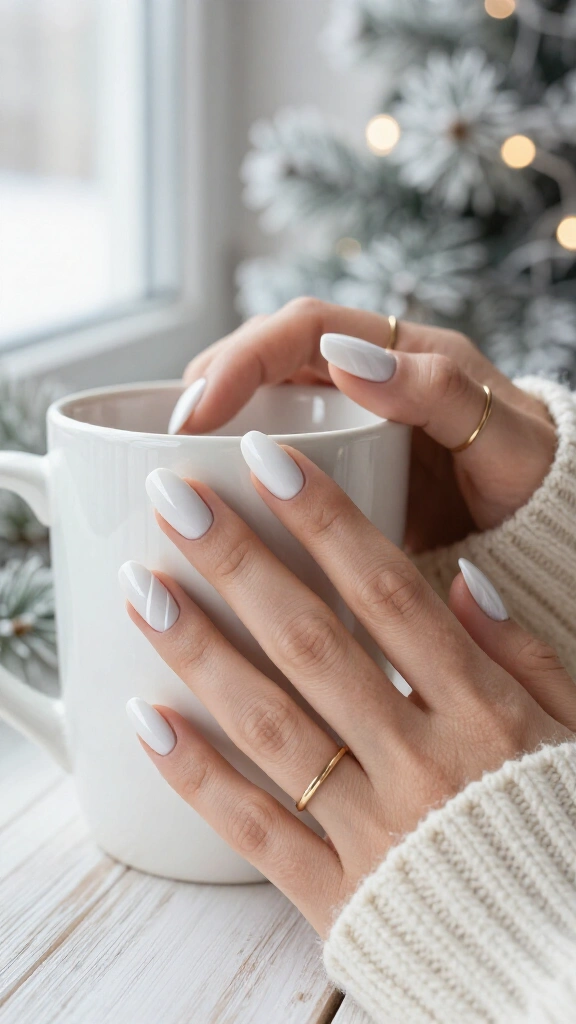
Holiday motifs can sometimes look overly busy, but clean geometry keeps them stylish. If you want traditional holiday color, review these red and white Christmas nails for seasonal combinations. If you prefer monochrome styles, build a tone-on-tone candy cane pattern using contrasting finishes.
Paint diagonal stripes using a high-gloss white polish over a dry, matte white base coat. This shift in texture creates a recognizable candy-cane pattern without relying on loud holiday colors. The finished result looks restrained, modern, and seasonally appropriate.
11. Gold foil cuticle halos on milky white
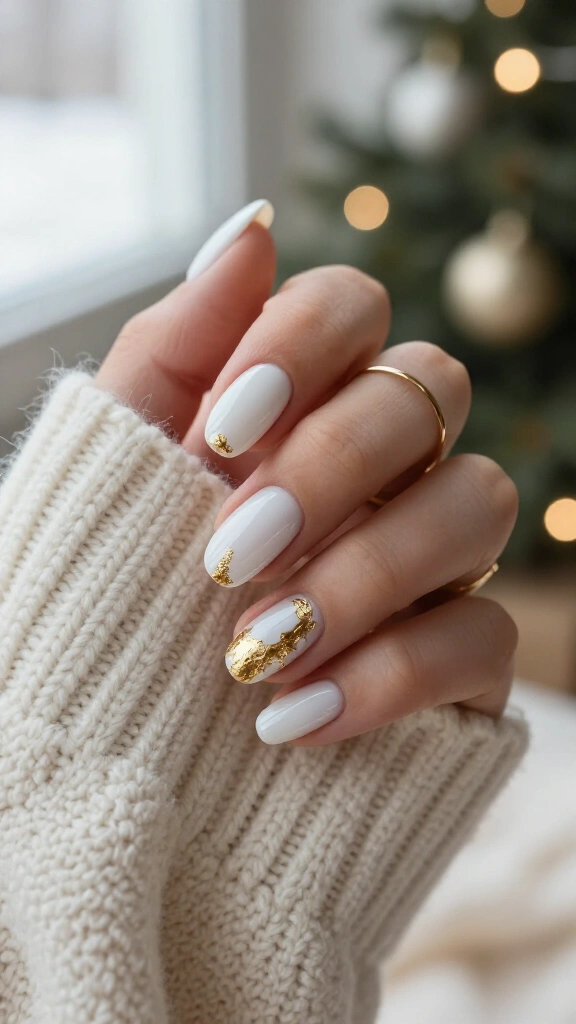
Cuticle cuffs, sometimes called half-moon halos, draw attention to clean cuticle lines and thoughtful nail prep. Apply two thin coats of creamy white gel polish. Next, press narrow crescents of metallic gold leaf along the bottom curve of each nail bed right above the cuticle.
The gold leaf outlines the nail bed with a crisp metallic border. Tip: Apply a drop of jojoba oil to your cuticles after curing the top coat so your skin stays hydrated in dry winter air.
12. Frosted sugar glitter accent tips
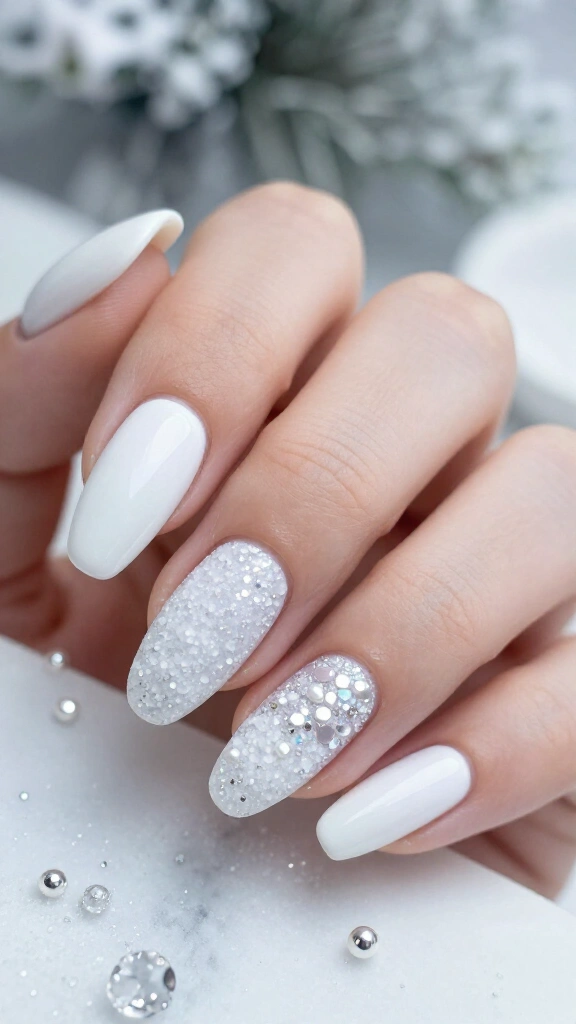
The sugar nail technique produces a rough, reflective surface that resembles granulated sugar or fresh snow. Paint clean white diagonal french tips on your accent fingers, and leave the remaining nails solid white.
Before curing your clear top coat on the tips, pour fine iridescent glitter over the wet polish until you cover the entire tip area. Tap your finger against your desk to shake loose the excess glitter, then cure the nail under your lamp. Do not apply a final top coat over the glitter; leaving the surface exposed preserves the crystalline texture.
13. Matte white with high-gloss icicle drips
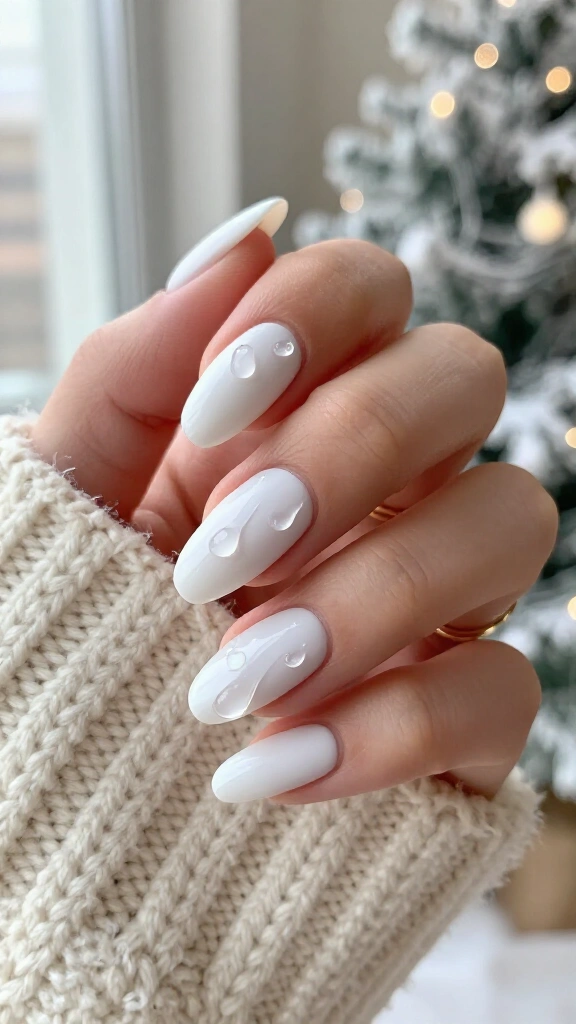
Contrasting finishes can turn a plain white manicure into a striking visual design. Paint each nail with an opaque white polish and seal it with a flat matte top coat. Once the matte layer dries completely, take a dotting tool and a bottle of thick, high-gloss clear gel top coat.
Deposit a round drop of clear gel near the edge of the nail, then pull the bead upward toward the center to create a droplet shape. Cure the gel under your lamp right away so the clear drip keeps its raised, three-dimensional profile against the flat matte background. This effect creates strong visual contrast without requiring intricate line work.
Essential tips to keep white holiday nails looking fresh
- Use a ridge-filling base coat: Opaque white polish reveals natural nail ridges quickly, so smooth out your nail surface with a ridge filler before painting.
- Clean nails with alcohol: Light polishes pick up dye from denim and makeup. Wipe your nails with an isopropyl alcohol pad every few days to remove surface discoloration.
- Cap the free edge: Sweep your polish brush horizontally across the top rim of every nail to stop moisture and holiday wrapping tape from lifting the edges.
You do not need professional training or an expensive salon appointment to wear a stylish holiday manicure. Thoughtful textures, clean lines, and small metallic accents turn simple white polish into a polished winter design. Pick a style that fits your current skill level, collect your supplies, and try out your new set at home.
Leave a Reply
You must be logged in to post a comment.