

You pull on a thick wool sweater, step outside into crisp winter air, and catch your reflection in a coffee shop window. The outfit works, but your bare nails look plain against heavy knitwear. Velvet nails solve that problem. They recreate the plush, dimensional texture of vintage woven velvet, giving your hands a rich finish that suits any nail length or shape. Winter velvet nails give you an expensive, plush finish that flatters every skin tone and nail shape.
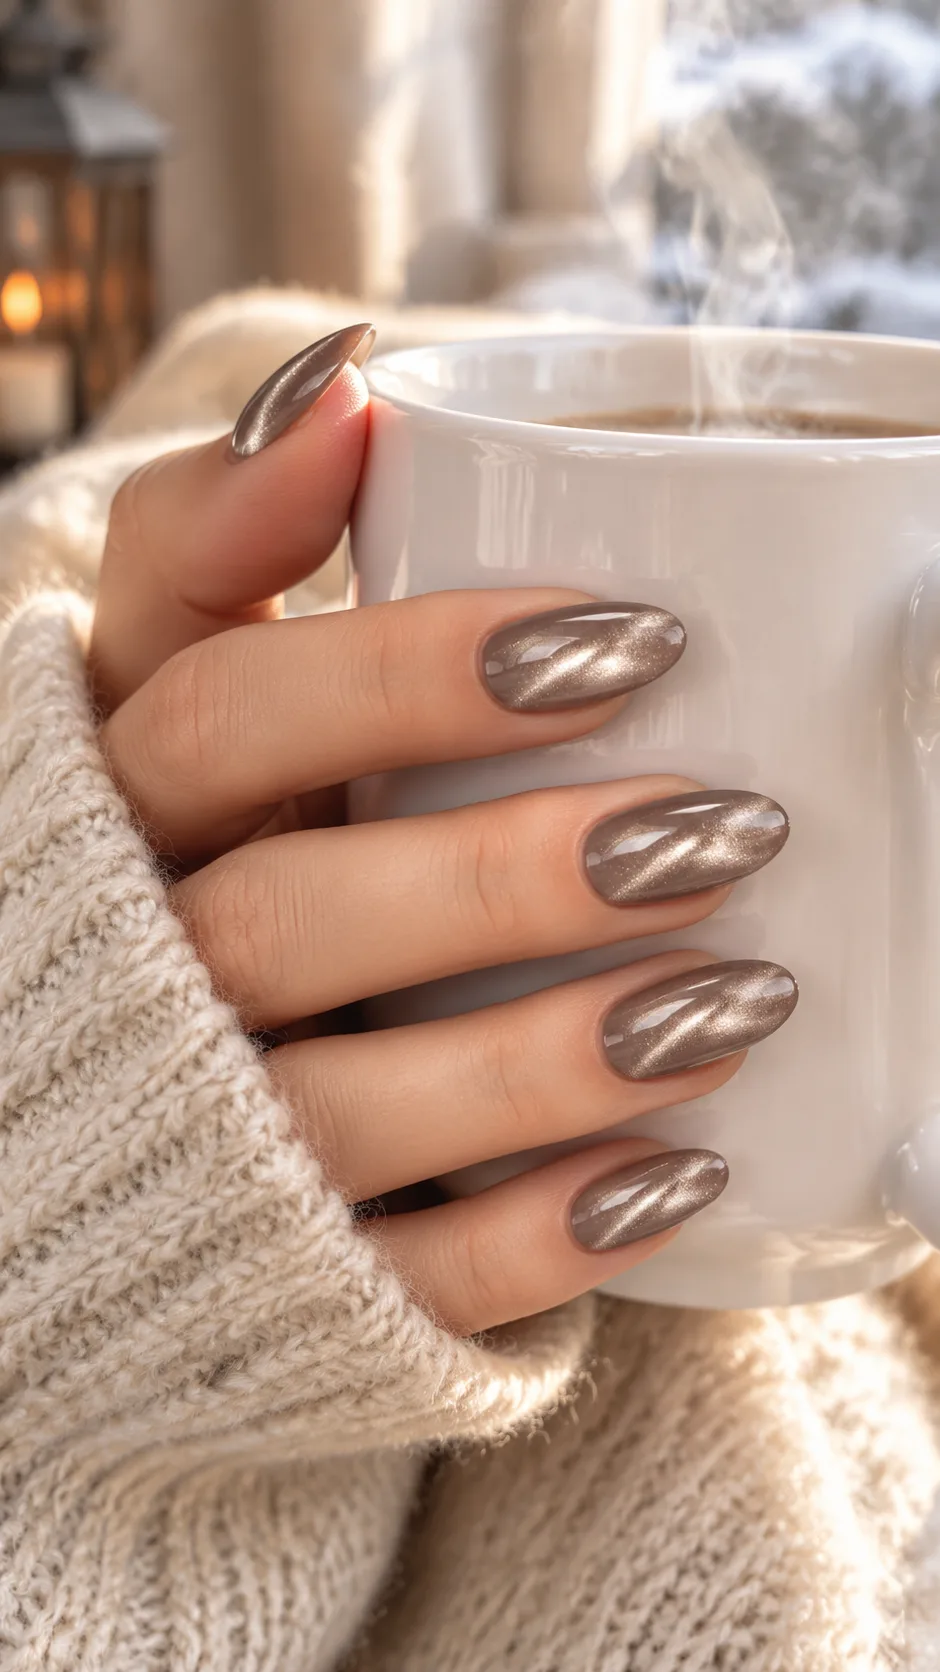
I still remember sweeping a magnet across wet magnetic polish for the first time. The metallic particles shifted instantly through the gel suspension, catching the light like crushed fabric. Flat, glossy manicures look fine, but a velvet finish produces an optical depth you simply cannot get from standard cream polish.
The technique relies on simple physics, specific magnetic tools, and deep winter pigments. Below, you will find fifteen winter color ideas, along with the exact step-by-step method salon technicians use to build that soft, dimensional glow.
What velvet nails are (and why winter suits them)
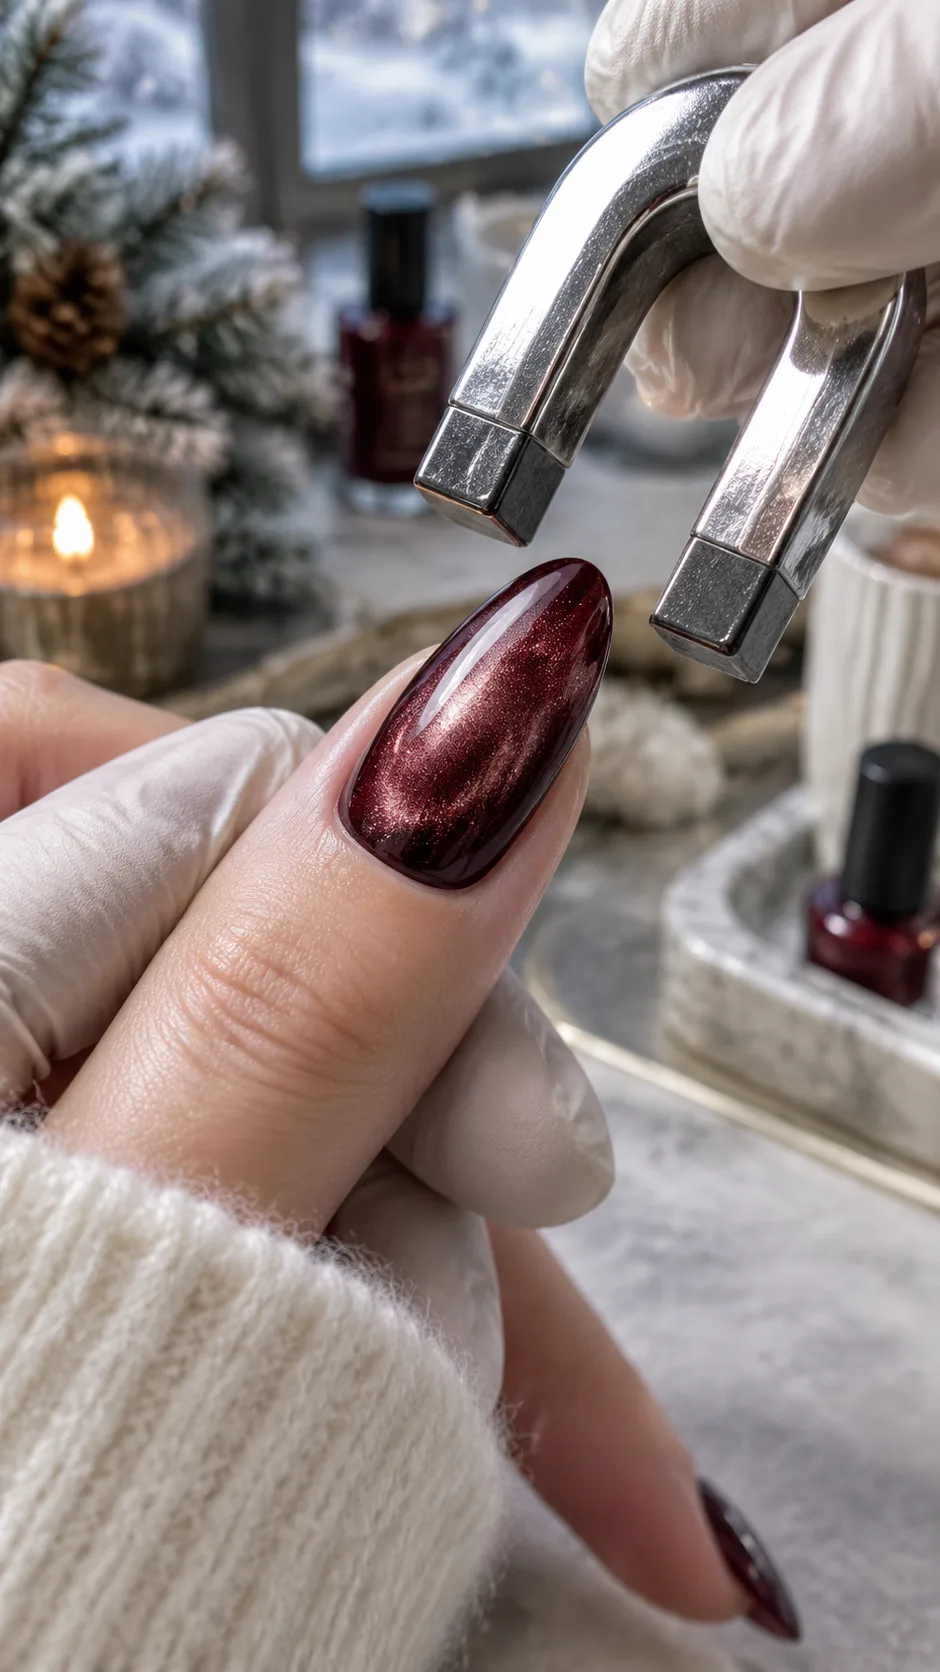
Modern velvet nails do not use fuzzy flocking powder from years ago. Today’s velvet manicures rely on magnetic gel polish to create an optical illusion. The formula suspends microscopic iron particles inside a translucent jelly base. When you move a magnet near the nail, the metallic flakes tilt upright at varied angles instead of settling flat against your nail bed.
This angle scatters light across the surface in multiple directions. Your nails mimic crushed velvet fabric that shifts in tone as you move your fingers. Nail technicians frequently recommend magnetic finishes during colder months, as noted on Allure, because magnetic shimmer matches heavy winter fabrics like wool and shearling.
Cold weather calls for visual weight. While summer favors sheer pastels and neon creams, dark winter months benefit from depth and tactile warmth. A velvet finish gives standard knitwear a polished edge, echoing the sensory comfort people seek during cold weather.
How the horseshoe magnet trick changed the technique
In previous years, nail artists used standard bar magnets to draw a single sharp line across the nail plate: the classic “cat-eye” effect. That line looks pretty, but it does not mimic fabric. To create true velvet, you must disperse the shimmer evenly across the whole surface.
Nail technicians solved this problem by adopting neodymium horseshoe magnets. Placing a finger inside the U-bend of a horseshoe magnet directs magnetic pull inward from three sides at once. This force gathers the shimmer into an even, domed cloud across the center of the nail bed.
You can also create this depth with a standard wand magnet by holding the rounded end parallel to your sidewalls and pushing the particles toward the middle. Take your time with this step, because careful positioning makes all the difference.
15 winter velvet nail ideas to try this season
From quiet neutrals to saturated jewel tones, these fifteen color combinations show the full range of the magnetic velvet effect.
Midnight espresso velvet
Deep brown tones return every winter, and magnetic polish gives the shade extra dimension. A sheer, blackened brown base carries bronze and champagne magnetic particles. Under warm indoor light, the color shifts from dark roast coffee to warm caramel. Wear this shade with an oversized coat and simple gold rings for an understated winter look.
Frosted champagne cashmere
Champagne cashmere suits anyone who wants a neutral manicure that matches every sweater in their closet. The polish combines cool silver shimmer with a warm, pale nude base, producing an effect like woven raw silk. This tone works particularly well on short square nails, keeping the hands looking neat and manicured without loud color.
Deep bordeaux wine
Burgundy remains a cold-weather staple. This design layers red metallic flakes inside a deep wine jelly base. Standard red glitter polish often looks flat or juvenile, but magnetic bordeaux creates a velvety, candlelit depth. The center catches bright ruby highlights while the sidewalls stay dark and moody.
Forest pine and emerald sparkle
Dark greens suit the winter months without relying on obvious holiday symbols. This manicure uses an inky hunter green base underneath emerald magnetic particles. The center of the nail flashes with green light against the dark perimeter. If you prefer rich green shades, explore these emerald green Christmas nails for more styling options.
Icy silver permafrost
This set layers fine silver magnetic particles over a soft milky white base. The finish catches sunlight like fresh crusts of snow. You can wear the silver velvet clean across all ten nails, or add subtle hand-painted snowflake nail designs on two accent fingers for deliberate winter detail.
Sugar plum mauve
Sugar plum mauve offers a quiet alternative to standard neutral tones. The formula blends smoky lilac gel with pale rose magnetic shimmer. The dusty pink undertone prevents pale winter hands from looking washed out, making it an easy companion for gray knitwear and casual weekend layers.
Smoked charcoal and onyx
You do not need to settle for flat black cream polish all winter. Smoked charcoal velvet places gunmetal shimmer over an opaque black base. The finished nail looks like crushed velvet or antique pewter under direct light, adding texture to black coats, wool trousers, and structured blazers.
Salted caramel bronze
Salted caramel bronze pairs warm amber base tones with bright gold shimmer. Natural sunlight pulls golden highlights into the center of the nail, leaving warm cinnamon shadows along the edges. The bronze palette flatters olive and warm skin tones especially well.
Glacial baby blue velvet
Pale blue makes an unexpected winter statement among typical reds and golds. Glacial velvet suspends pale blue and violet micro-particles inside a sheer sky-blue base. The purple undertone shifts as you move your hands, producing an icy look that breaks away from traditional December palettes. For complementary styling ideas, look through these winter holiday nails.
Rose gold cashmere
Rose gold flatters almost every skin tone. This polish combines a sheer blush pink base with fine copper metallic particles. The reflective sheen softens the look of your hands during dry weather, and the sheer cuticle boundary conceals natural nail regrowth far better than dark burgundy or black.
Spiced cinnamon amber
Spiced cinnamon velvet blends burnt terracotta gel with amber shimmer. Drawing the magnet inward pulls bright copper particles toward the nail apex while leaving the deeper spice tones around the perimeter. The shade transitions smoothly from late autumn into deep January.
Olive martini shimmer
This shade steps outside conventional winter palettes. The manicure combines a mossy olive base with bronze and pale gold shimmer. Fashion coverage on Harper’s Bazaar points to olive tones as dependable modern neutrals. On nails, the olive tone reads grounded, understated, and distinct from typical holiday glitter.
French illusion velvet tips
This look combines classic French manicures with modern magnetic depth. Apply a clean nude base across the nail bed, then paint magnetic polish along the free edge. Angling the magnet specifically across the smile line makes the tip look like draped fabric. The contrast gives you a crisp, tailored style that works for office days and formal evening events.
Mulberry blackberry swirl
Mulberry provides the ideal compromise when you want something between burgundy and dark purple. The polish suspends violet magnetic shimmer inside an inky purple base. Dark shadows line the nail edges, while the center catches bright plum reflections under direct lamplight.
Pearlescent oyster silk
This design updates the chrome glazed look for winter. Rather than rubbing chrome powder over cured gel, apply pearl magnetic polish over a soft cream foundation. The magnet clusters the shimmer into a rolling, liquid highlight that resembles raw silk or polished pearl. The subtle, luminous finish makes an excellent choice for winter weddings and New Year parties.
Step-by-step: How to master velvet nails at home
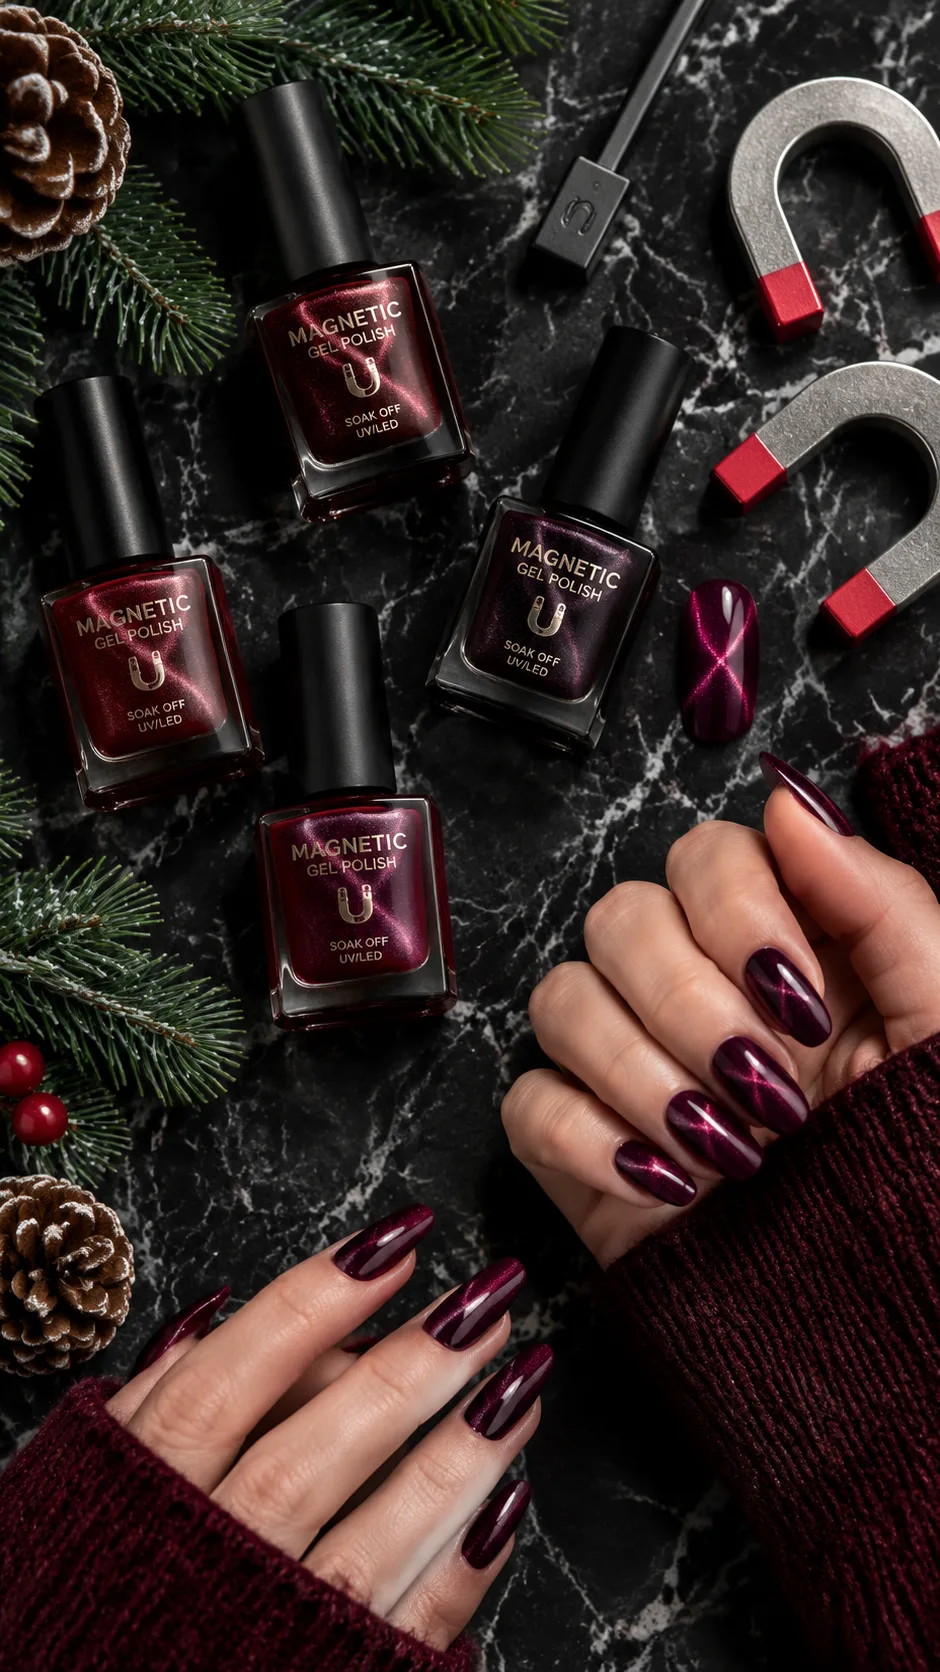
You can create professional velvet nails at home without salon equipment fees. You only need a quality magnetic gel, an LED lamp, and a strong magnet. Follow these steps to get a clean, even finish on every finger:
- Prep your nails thoroughly: Push back your cuticles, lightly buff the shine from your natural nail plates, and remove surface oils with pure acetone or 99% isopropyl alcohol. Thorough prep prevents edge lifting and keeps the nail surface flat.
- Apply your base coat: Brush on a thin layer of rubber base or standard gel base coat. Cure it under your LED lamp for 60 seconds.
- Apply a background color (optional): Magnetic polish works over bare base coat, but painting a black, deep brown, or matching cream shade underneath creates deeper contrast. Paint one thin layer of your chosen background color and cure it for 60 seconds.
- Work one nail at a time: Apply a medium layer of magnetic gel to a single finger. Never paint your whole hand at once. Metallic particles sink quickly into wet gel, and you need the formula fluid when you bring the magnet close.
- Position the horseshoe magnet: Slip your wet finger directly into the center opening of a neodymium horseshoe magnet. Hold your finger steady for 10 to 15 seconds. The multi-directional pull gathers the metallic particles into a rounded, velvet cushion across the center of the nail.
- Flash-cure right away: Place your finger into the LED lamp for 10 seconds immediately after lifting the magnet. This quick exposure locks the magnetic particles in place before they settle back down. Repeat the polish, magnet, and flash-cure steps on each remaining finger.
- Perform a full cure: Once you finish all five nails on one hand, run a full 60-second cure cycle under the lamp to harden the gel completely.
- Seal with a glossy top coat: Apply a smooth layer of non-wipe gel top coat over the magnetized polish. A clear, plump top layer gives the shimmer optical depth, making the velvet effect appear truly three-dimensional. Cure for a final 60 seconds.

Pro tips for long-lasting wear and shine
Winter air pulls moisture from your skin and nails. When your natural nail plate dries out, it contracts and bends, which breaks the bond between your natural nail and the cured gel overlay. Chipping and edge peeling follow quickly.
To keep your velvet manicure intact for three weeks or longer, practice these simple maintenance routines recommended in Byrdie’s nail care guides:
- Cap the free edge: Run your brush horizontally across the very tip of your nail with every layer of base coat, color, and top coat. Sealing the free edge stops water from sneaking under the gel when you wash your hands or type on a keyboard.
- Apply cuticle oil twice a day: Massage a drop of jojoba-based oil into your nail beds every morning and night. Jojoba oil has a small molecular size that absorbs directly through natural nail tissue, keeping your nails flexible and preventing brittle breaks.
- Wear rubber gloves during household chores: Hot water and concentrated dish soap soften cured gel and swell your natural nail plate. As the wet nail plate expands and contracts, the gel separates from the keratin. Put on cleaning gloves whenever you wash dishes or handle household cleaners.
- Skip scalding showers for 24 hours: Even though LED lamps cure gel on contact, the chemical matrix continues to settle during the first day of wear. Avoid hot tubs, long baths, and steam rooms on the day you apply your nails.
Frequently asked questions about winter velvet nails
Can I create velvet nails using regular air-dry polish?
You can buy air-dry magnetic lacquer from several independent brands, but gel polish produces far clearer velvet depth. Regular nail polish begins evaporating immediately upon exposure to air, which freezes the magnetic particles before you can arrange them into a smooth dome. Gel stays liquid until you put it under an LED lamp, giving you all the time you need to position the shimmer.
Why does my velvet nail look like a flat cat-eye stripe instead of fabric?
A straight rectangular magnet held flat over the nail pulls the particles into a single narrow line, creating the classic cat-eye streak. To create the velvet look, you need to push shimmer inward from all sides. Use a circular or horseshoe magnet, or circle the edges of the nail with the rounded end of a magnet wand to move the shimmer toward the center.
How long do magnetic velvet manicures typically last?
A properly applied velvet gel manicure lasts two to three weeks without chipping. Because you seal the magnetic layer under a clear top coat, the metallic particles retain their shine and will not tarnish or rub off.
Wrap your nails in winter luxury
Winter brings gray skies and short days, but your nails do not need to look dull. Velvet manicures bring tactile richness and depth to cold-weather style without requiring complicated salon art. With a bottle of magnetic gel and a horseshoe magnet, you can give yourself a set that catches the light through the entire winter season.
Pick your favorite deep jewel tone or quiet neutral, set up your workstation, and try the technique on your next manicure night.
Leave a Reply
You must be logged in to post a comment.